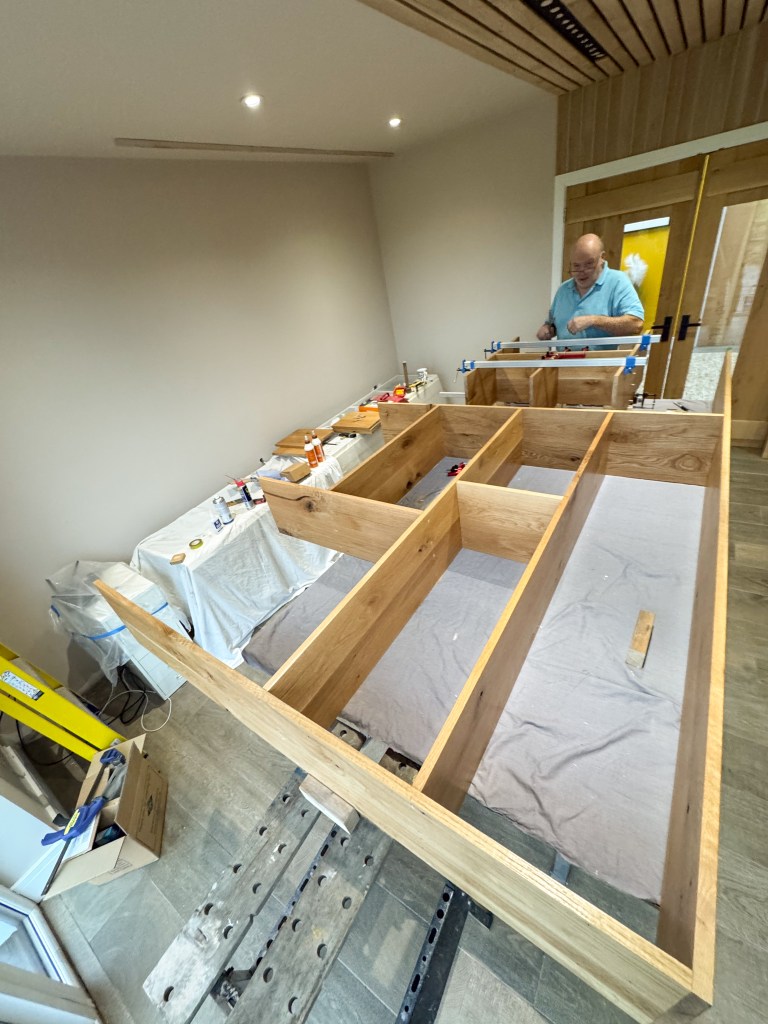
Building the shelf unit we knew would be the hardest and longest task of the whole makeover. We were looking forward to it but also a bit apprehensive. I was nervous knowing the measurements of each piece and consistency was crucial. Any errors, especially if they were short, would cost in time and confidence. If I’m honest, my worst fear was the odd piece being fractions of a millimetre out and that collectively, uprights could be thrown out and look out of kilter to the eye. Patrick, the builder was a bit edgy as he knew the effort I’d put in to get things this far and he’d never constructed anything of this size before.


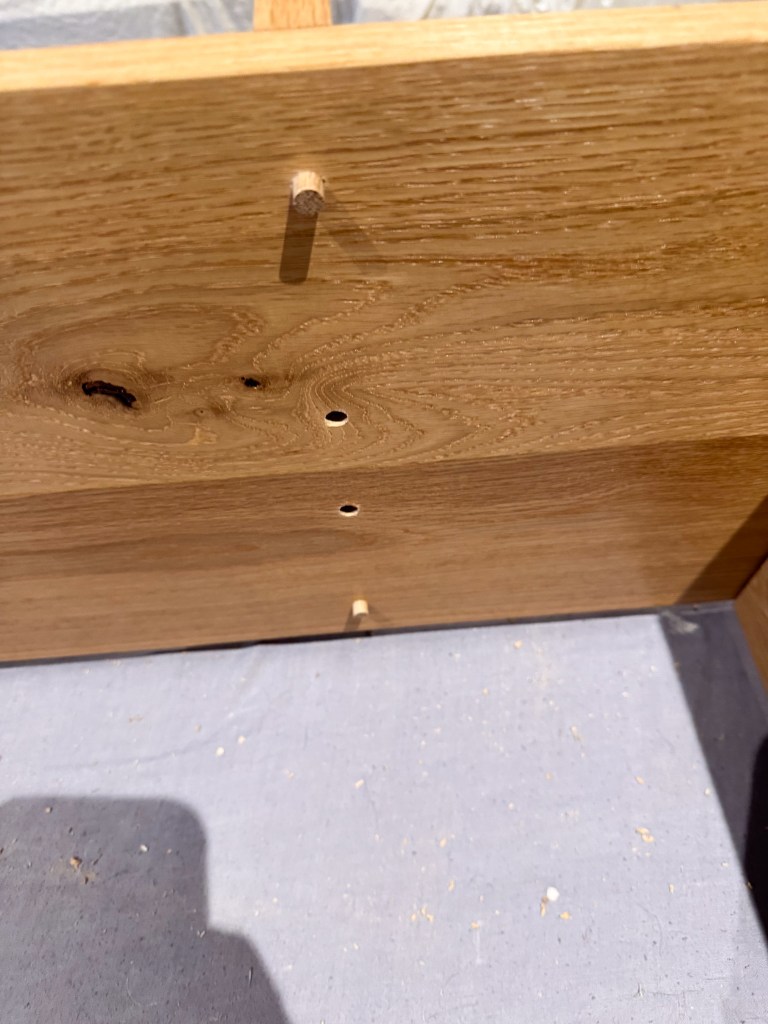
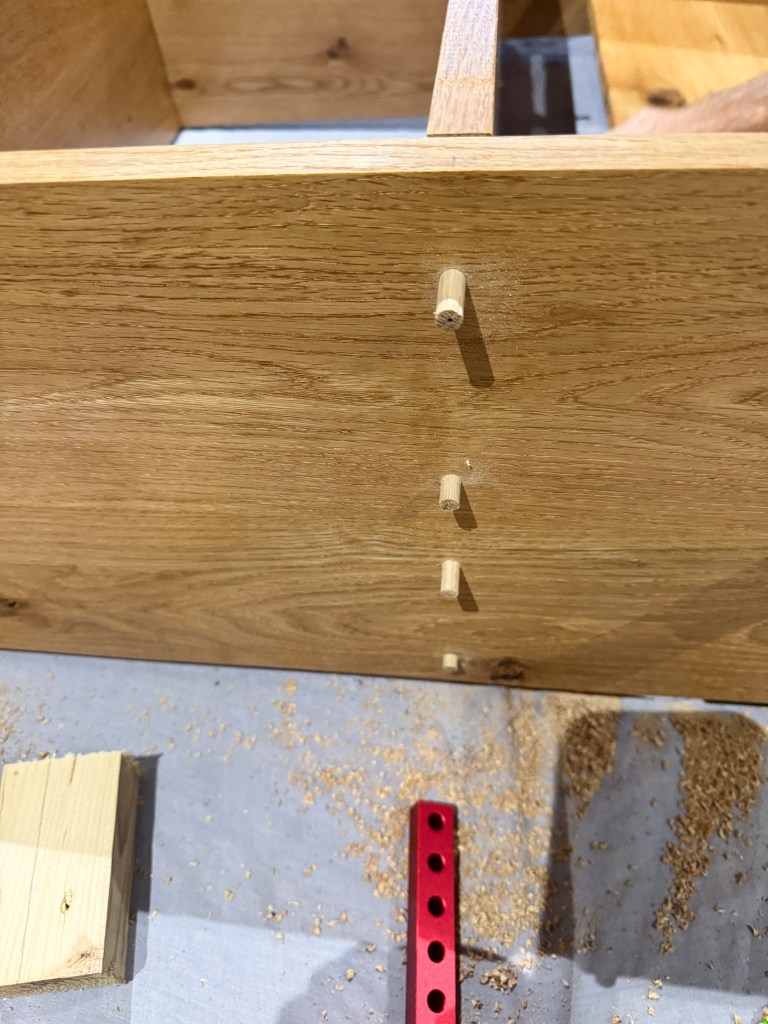
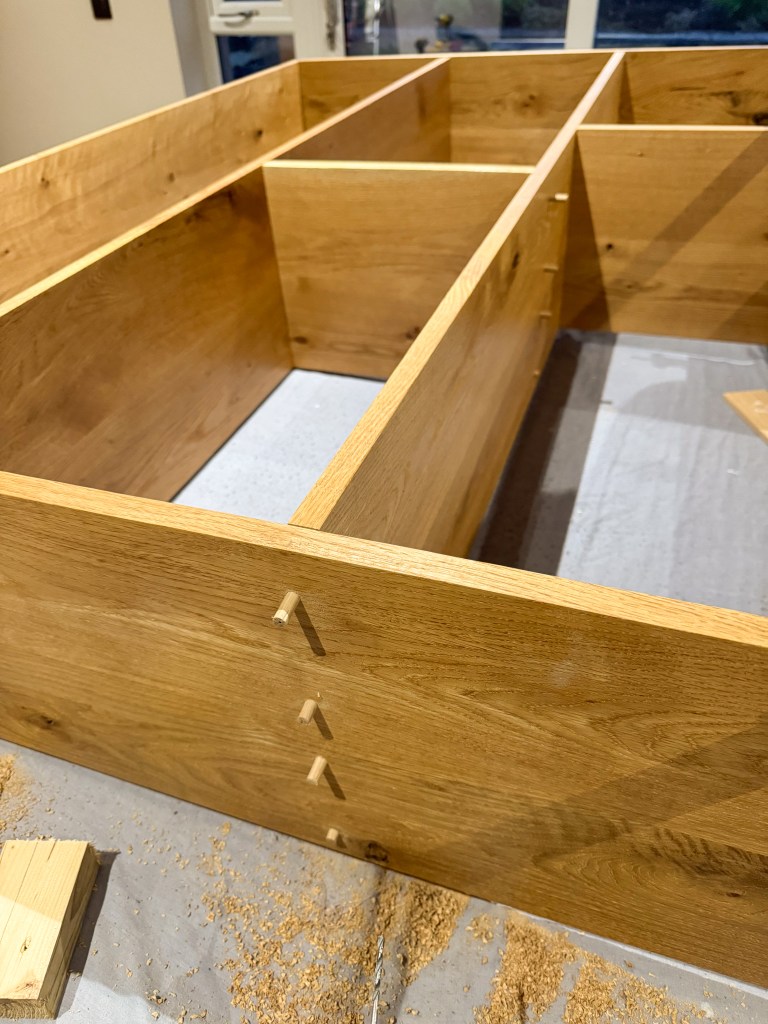
We’d worked out logically how best to start and what each stage after looked like construction-wise. We’d also planned very carefully what joins would be visible and which ones not. Those that were, we decided to dowel using oak making the final piece consistent and hopefully visually appealing. Of course, it also made the job much more complicated and painstaking than simply whacking in screws!
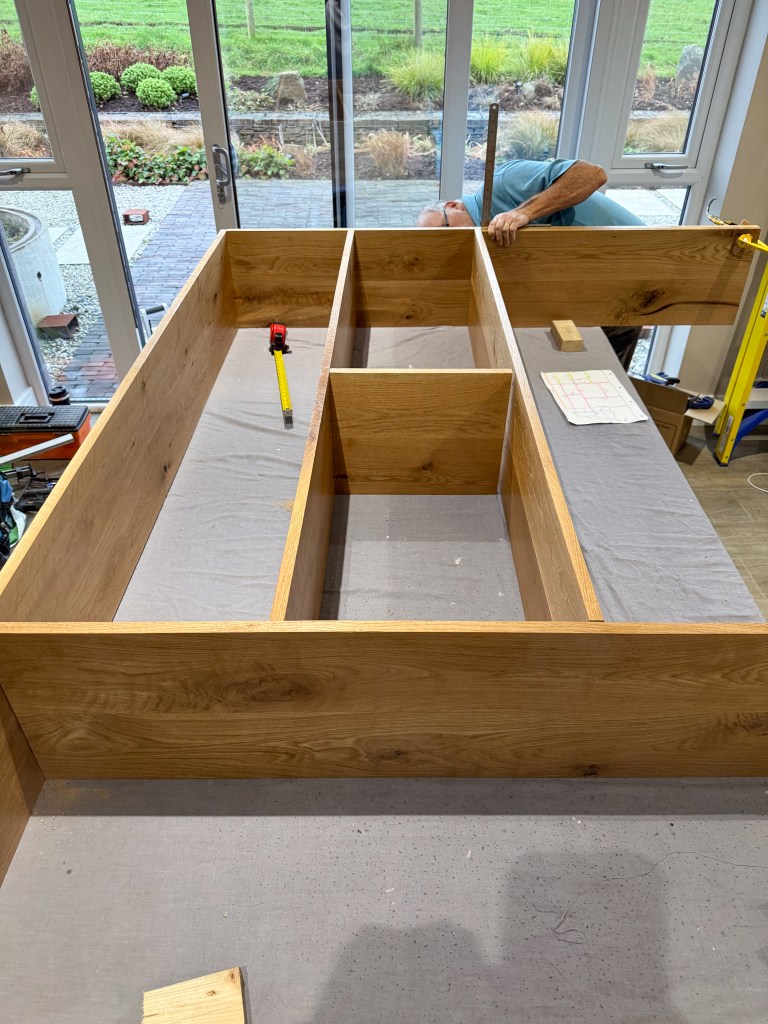
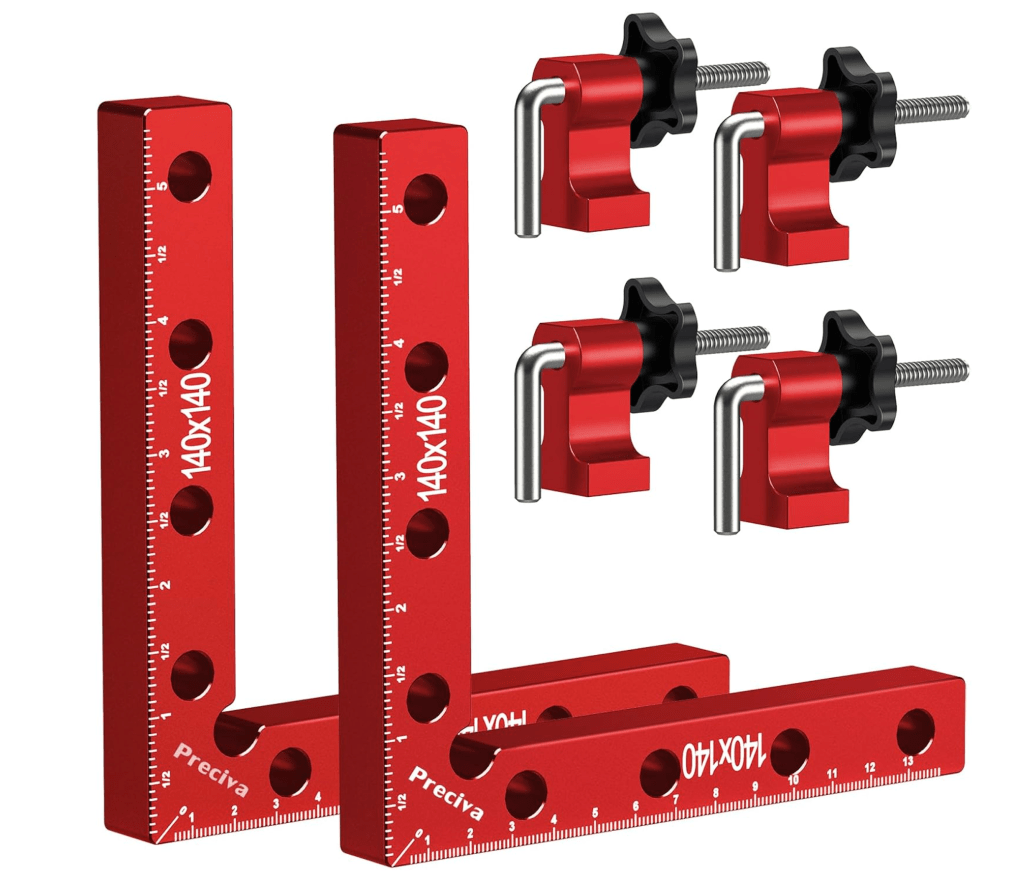
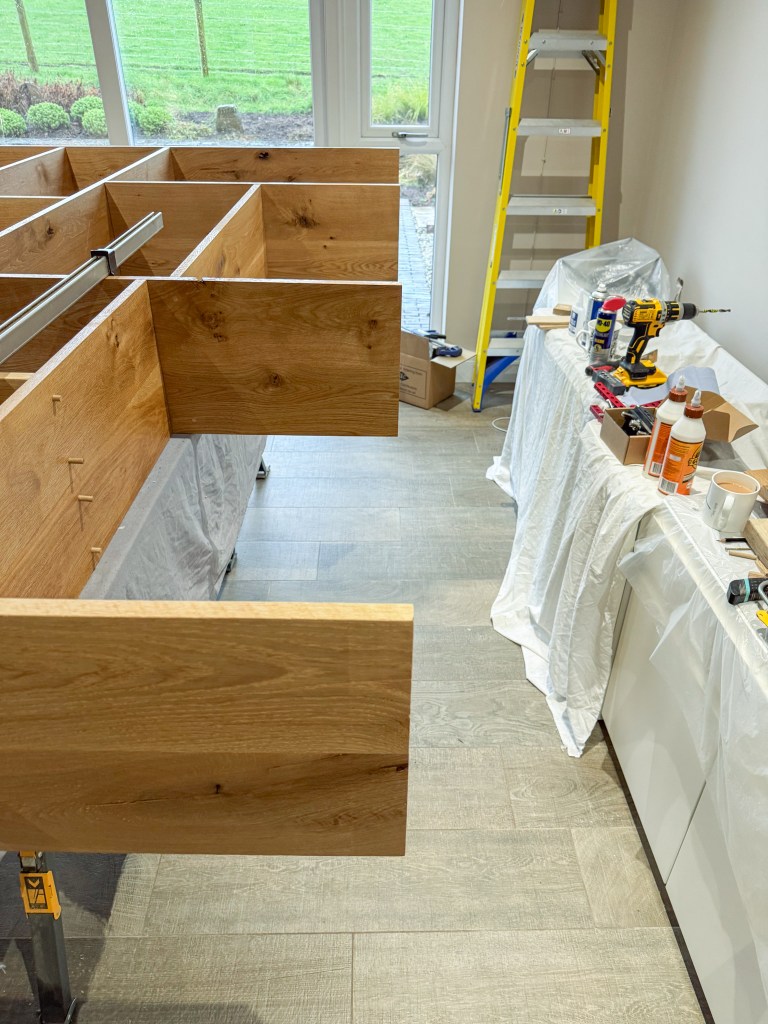
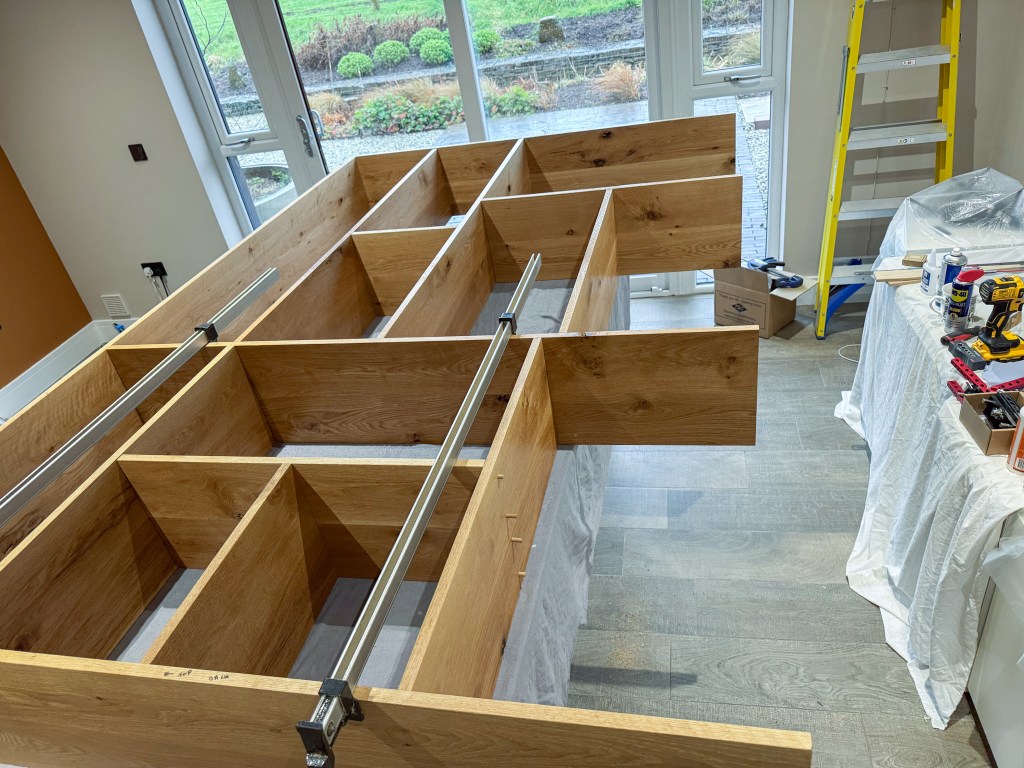
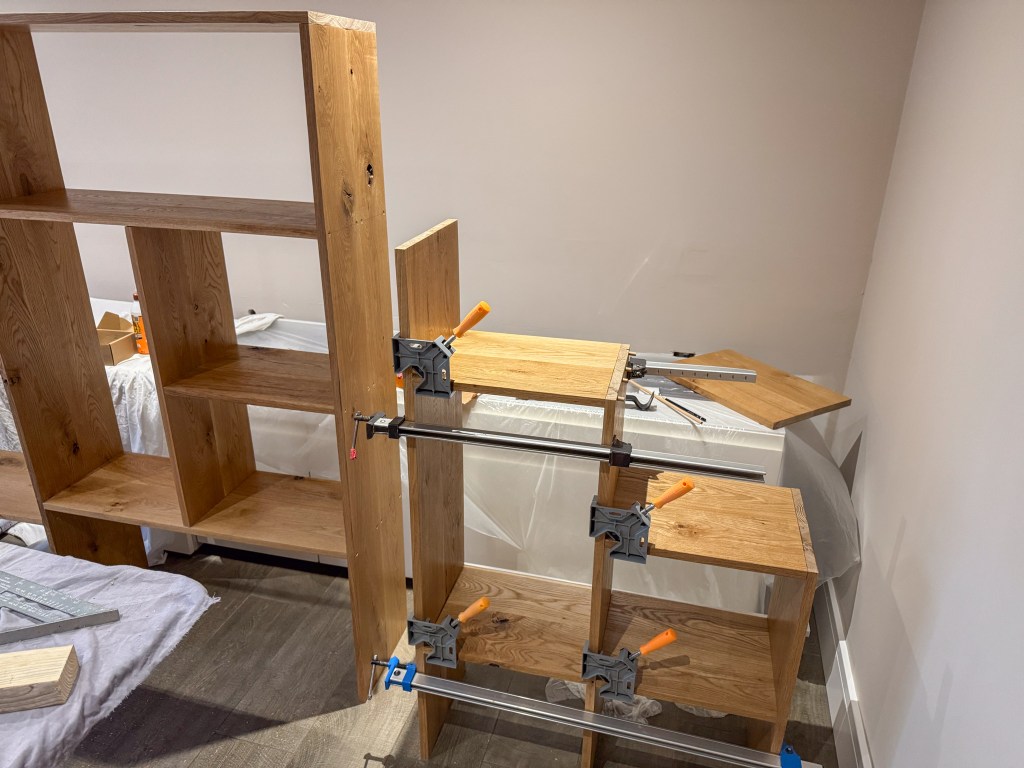
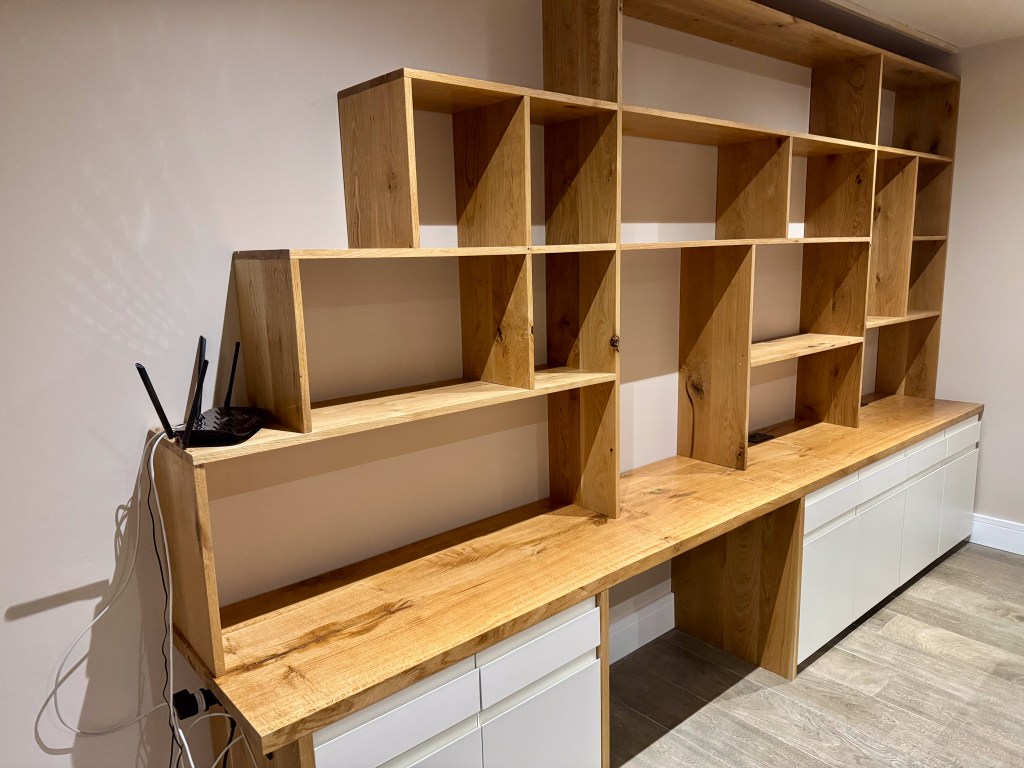
We started with the three long down pieces and worked from the top. We had some very neat 90° metal clamps that we used to ensure all angles were true. Whilst they’re very accurate and vital, they’re also fiddly and slippery little buggers and were the cause of many a strong curse during the build!
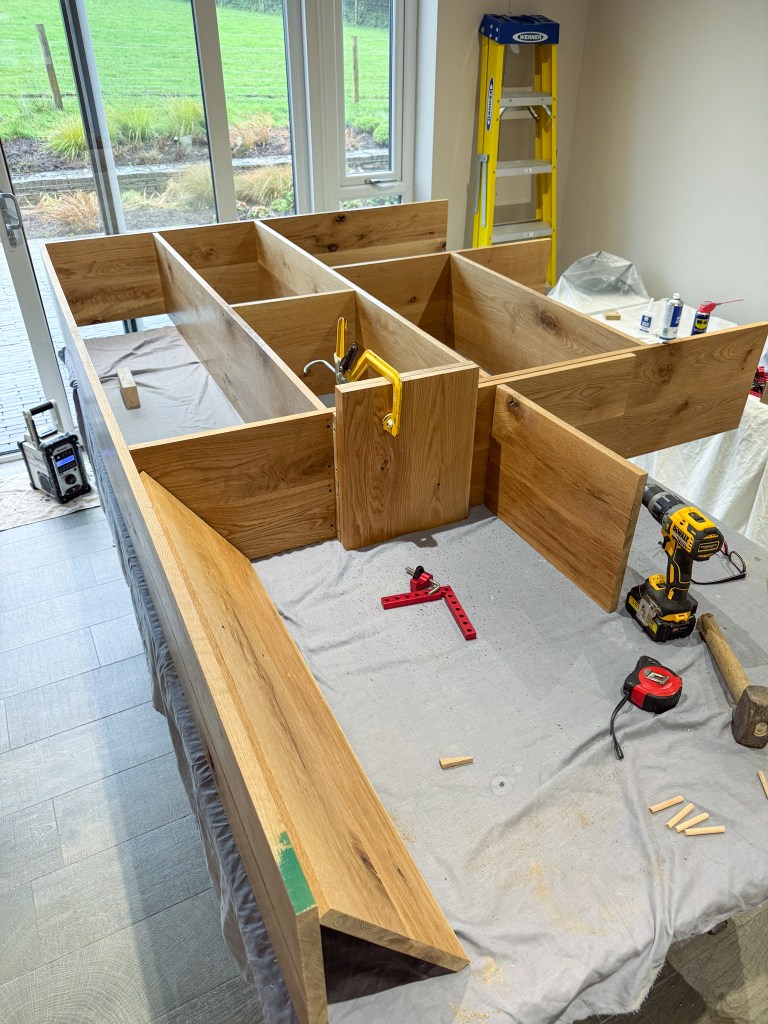
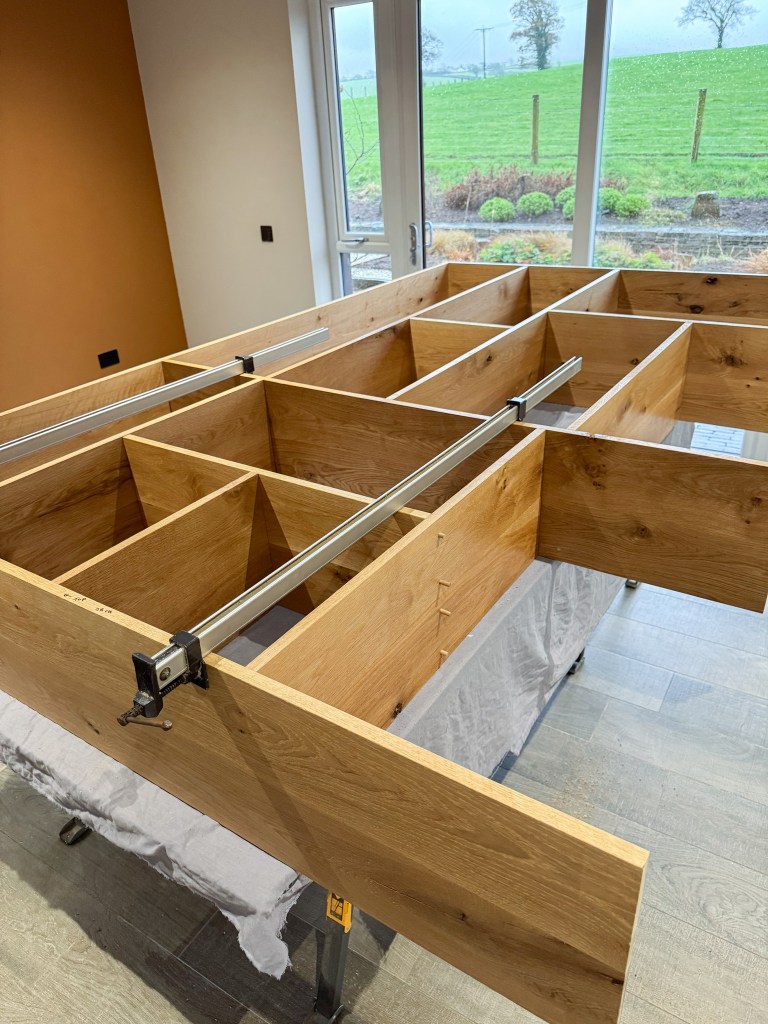
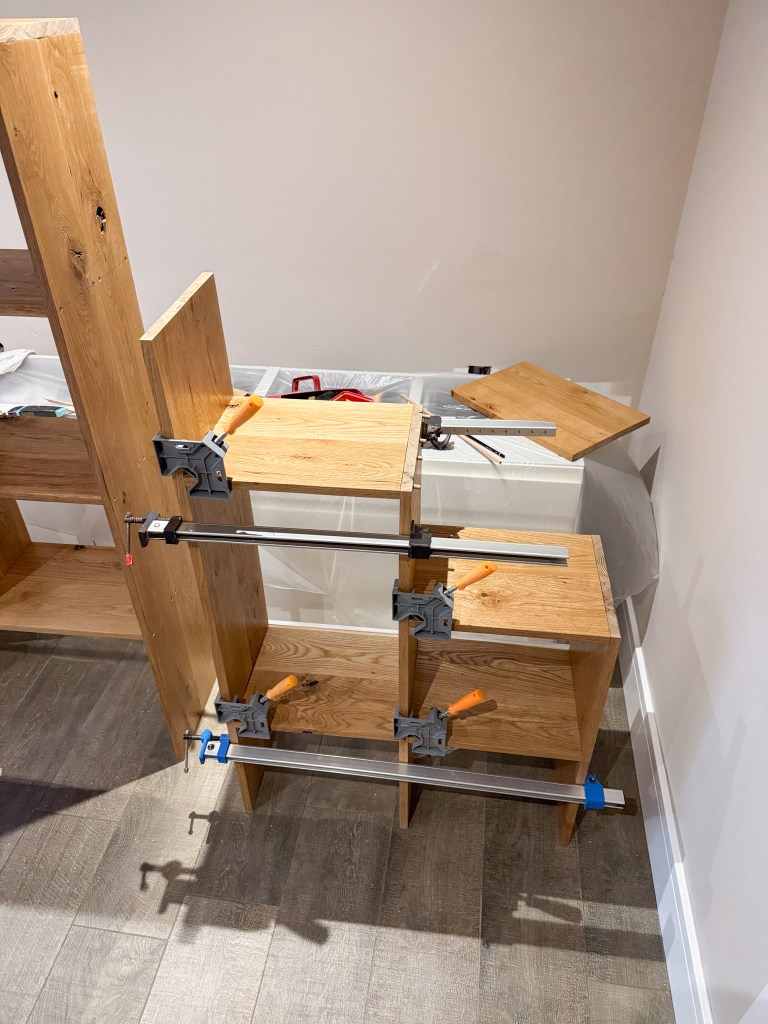
We also used a plethora of clamps for when we glued and doweled to hold everything in place until the wood glue had fully dried. It was a slow but humorous and rewarding process with elements of angst and drama thrown in occasionally.

We edged nearer the finish line and realised we’d end up with a very large piece of furniture that’d need careful lifting and placing on the precious new work top. Another worry to look forward to.
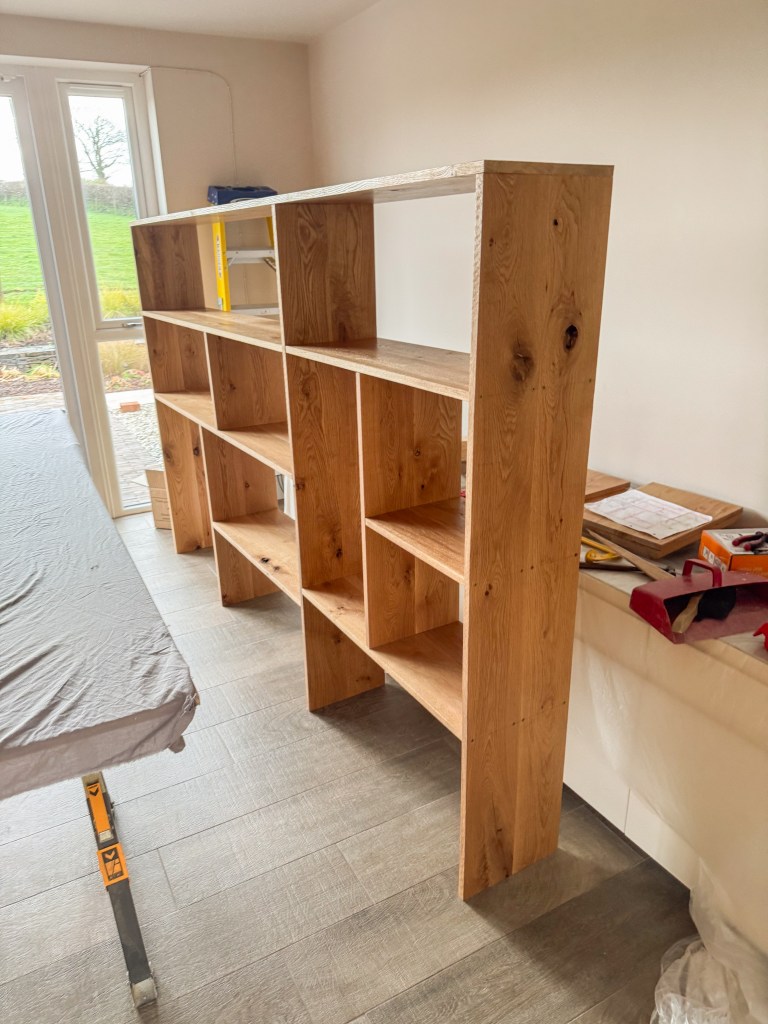
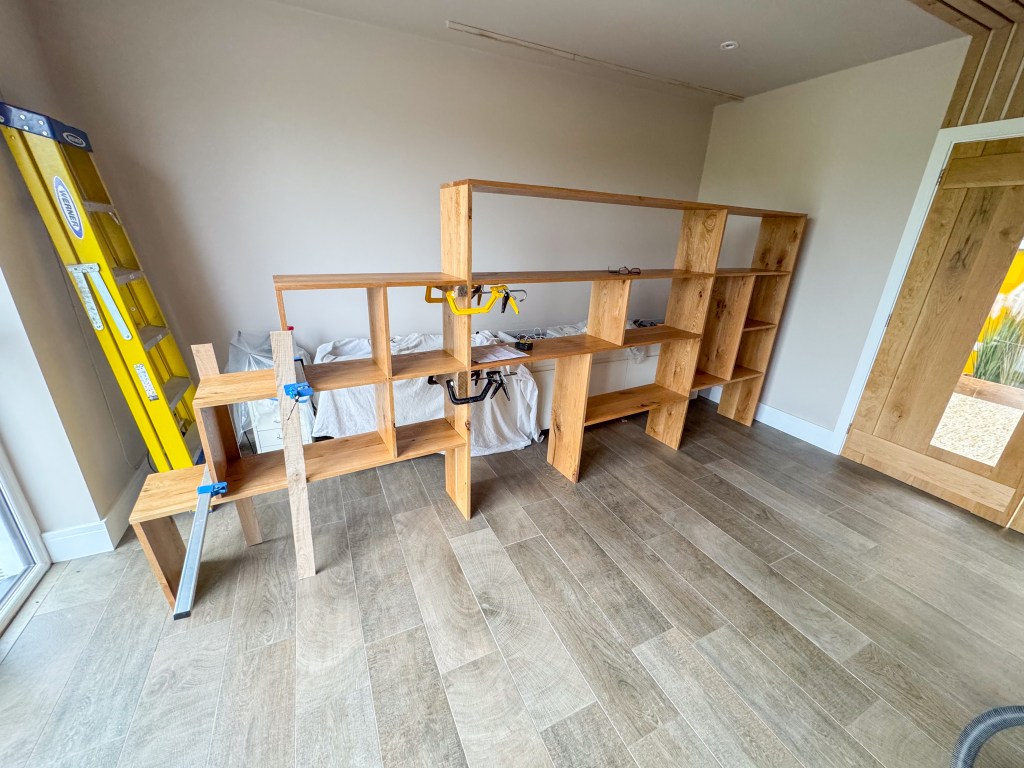
We built the main sections and decided to construct the smaller end section separately. We’d join the two once they were up and more or less in position. As it transpired, squaring up the smaller end section was harder to keep true and aligned was harder than the bigger main section. This might have been due to a slightly warped piece or because there were less boards overall to keep it pulled into square. Either way, we were as ready as we could be for final install.
In hindsight, my advice to anyone attempting to construct anything as large and with so many integral pieces is to plan the order of build for each piece very carefully. It sounds an easy thing to do and mainly, thanks to Patrick, it was. However, when in the midst of construction, it would’ve been very easy to attach, dowel, glue a piece only to realise you now can’t fit the next piece as you couldn’t get at it to align holes and dowels etc. So precise were the sections, there was simply no play to allow for mistakes.
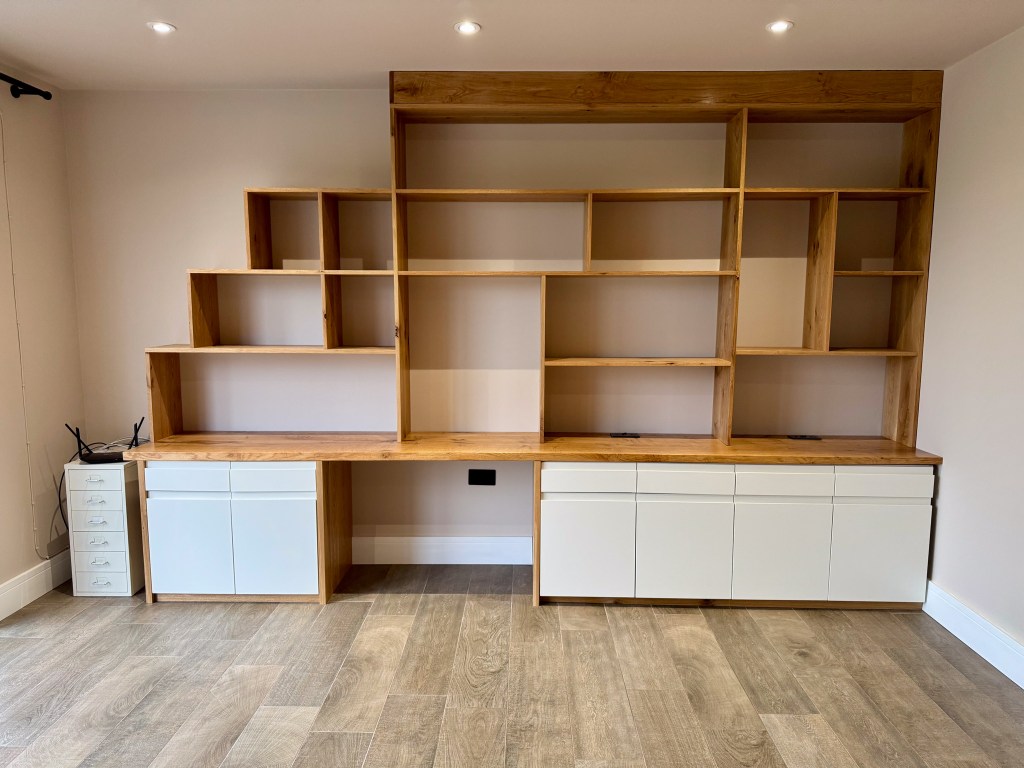
On we proceeded to the big and exciting final lift onto the work top. We planned this carefully too, it weighed a ton and was extremely unwieldy, we didn’t want to dent or scratch anything we’d so painstakingly prepared along the way. The big section was heaviest so we worked to lift it half way onto platforms and then up to its final position. We covered everything with thick towels to protect surfaces and in the end, it went very smoothly.
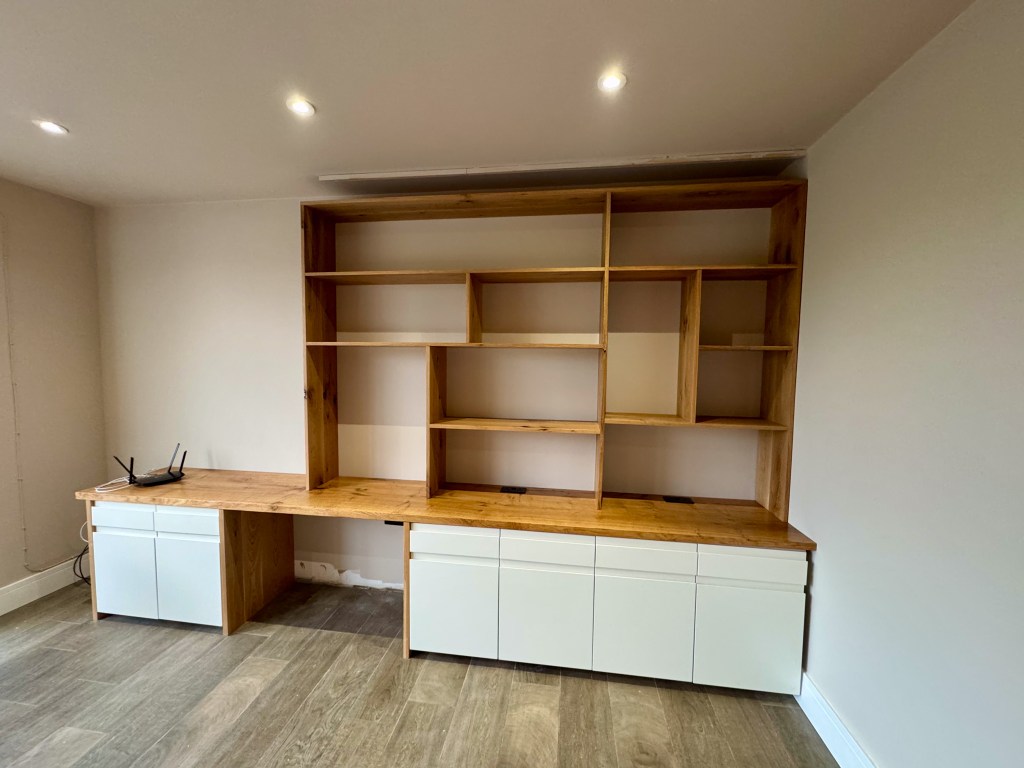
The next task was to attach the two sections together and that turned out to be the most tricky and fiddly. After a very slight and hasty cut down of one of the supports (yes, I’d made one piece too long!), it was up and complete.
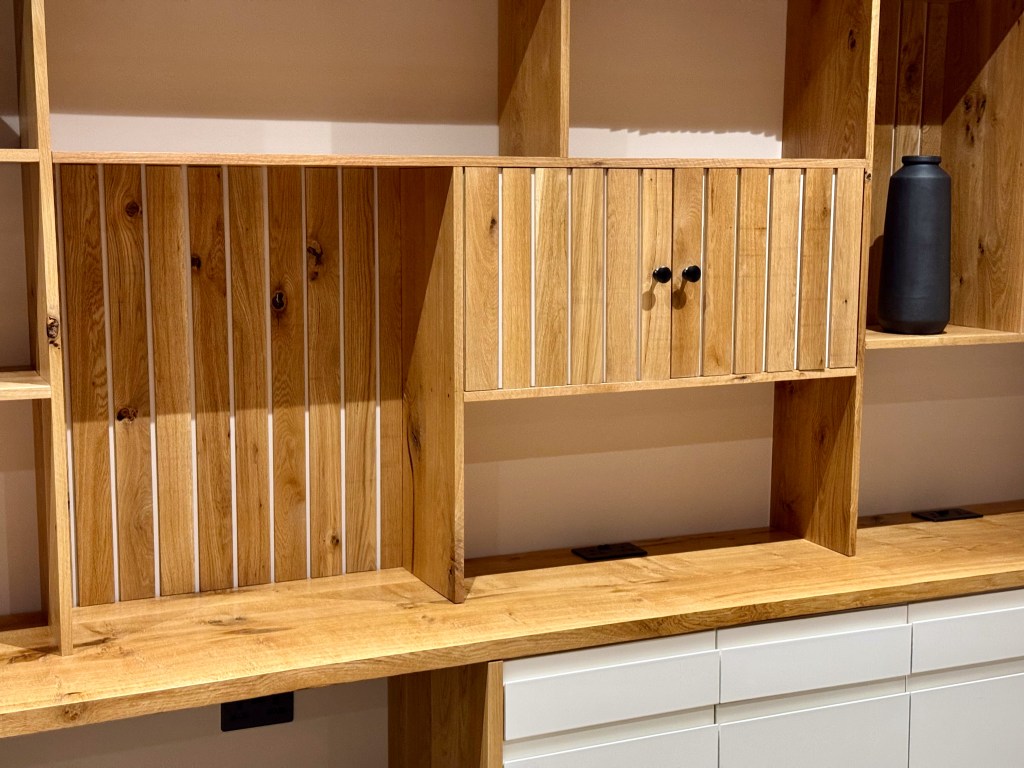
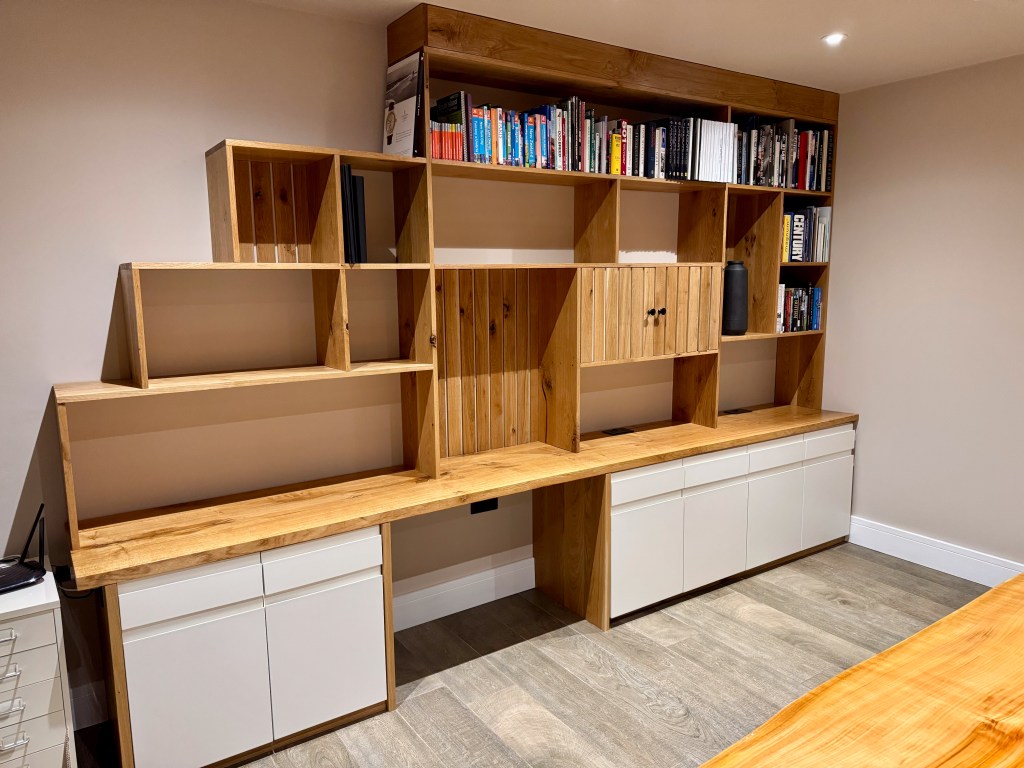
With a final flourish, we decided to make a long L shaped cornice to complete the unit to the ceiling and a couple of kick boards for the bottom underneath the cabinets. Our final and inspired (in my opinion) decorative decision was to glue to the wall some left over oak battens from the ceiling feature to the inside of three of the shelves. This tied the unit to the room better. We also added two doors (decorated with oak battens), to one of the larger shelf recesses to make a cupboard for the more unsightly box files we keep. This completed the new look we’d envisaged.
All in all, this piece was a massive undertaking. I think I’d have made a right mess of it were I to have done it alone. Patrick’s assistance, guidance and expertise made it fun, extremely rewarding and a huge learning experience for me.
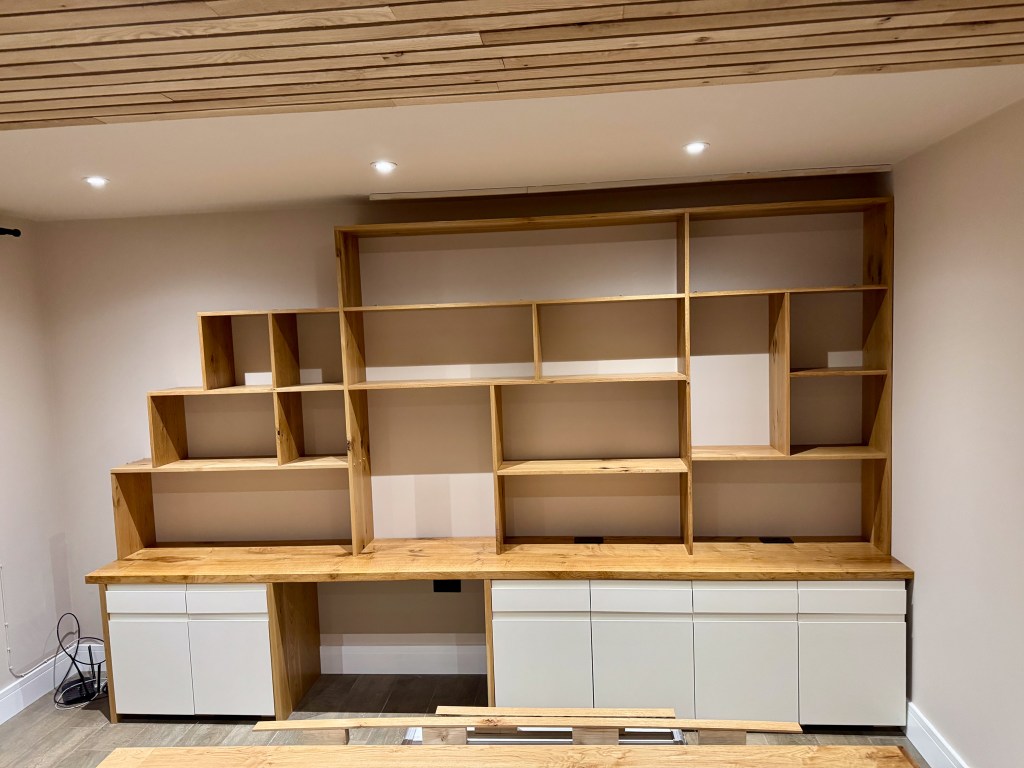


I’m still extremely proud of this piece and love looking at it every day. To see something you envisaged come to real life is a special thing and I’m really pleased we went the extra mile using dowels and were daring enough to add the final touches that make it a very bespoke and harmonized piece of substantial furniture.
Cost:- Oak Boards for Shelving £690, Oak Slab for Worktop £1,800 Total = £2490

Leave a comment