Things were rattling along quickly now and to my horror, I realised I didn’t have enough oak for the cabinet sides. I’d hoped the off cut from the top would be enough but it turned out it was nowhere near. I panicked and tried several wood yards in the area for an easy solution. However, I came up blank. The biggest issue was I wanted the sides to be chunky and match the top (more or less) in thickness, most outlets only sold boards at 20mm. In a last desperate call we contacted a builders merchant locally and they confirmed they had some 35mm boards in stock! We high tailed it over there and sure enough, there they were! The widths weren’t perfect but beggars can’t be choosers.
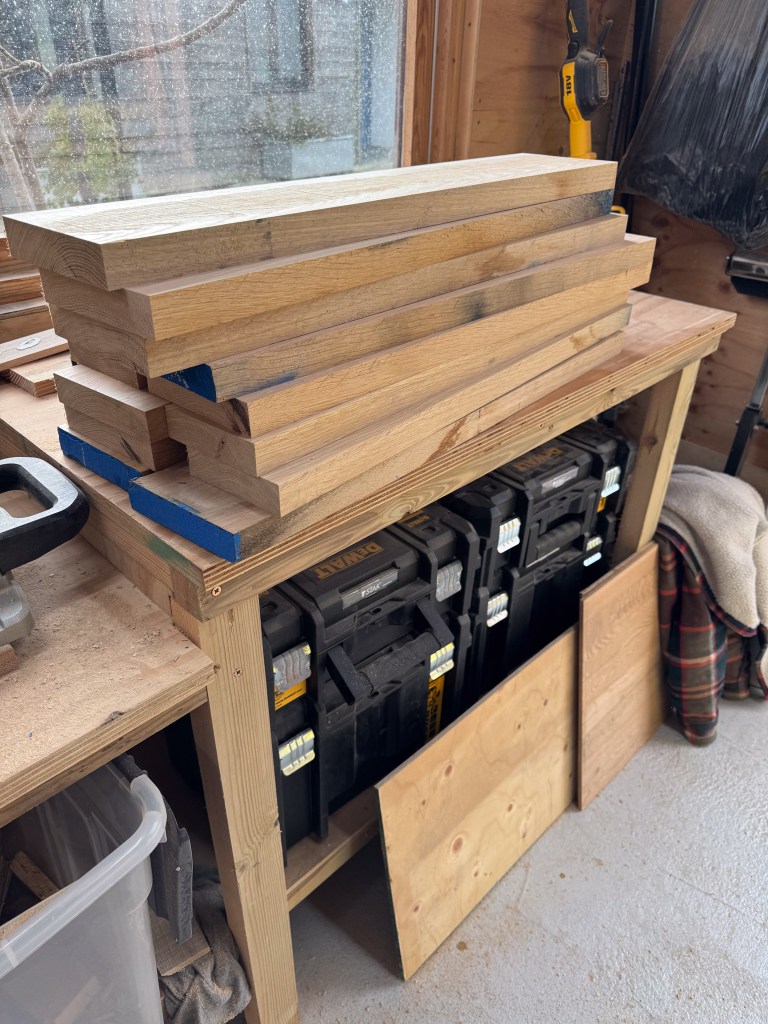
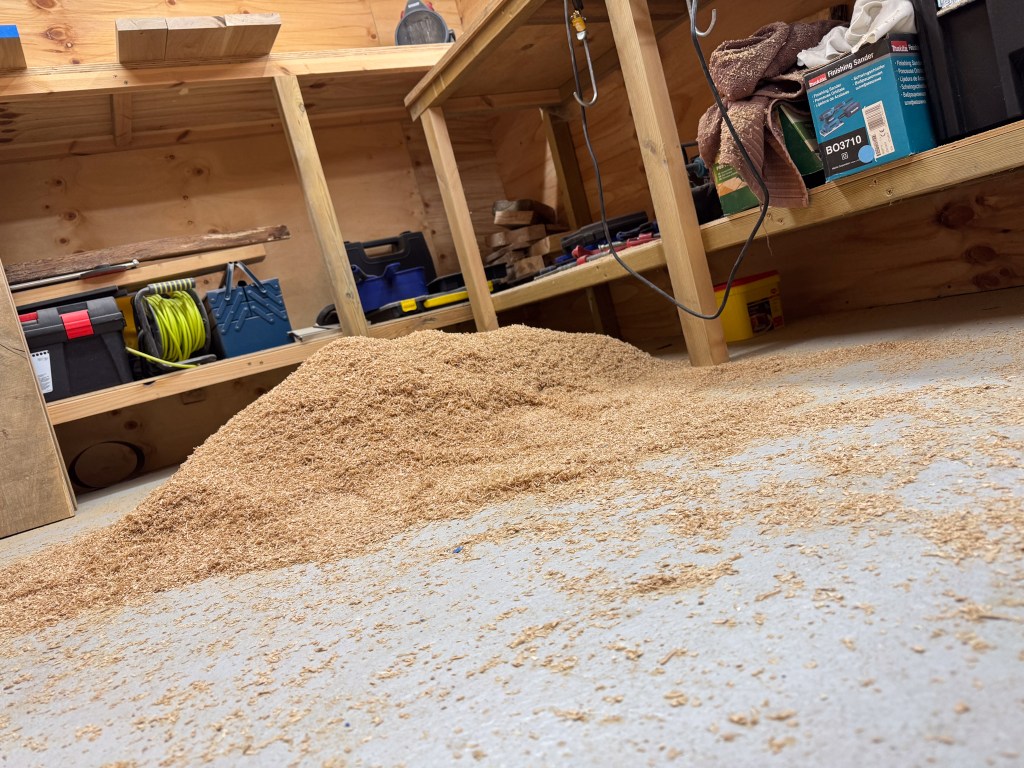
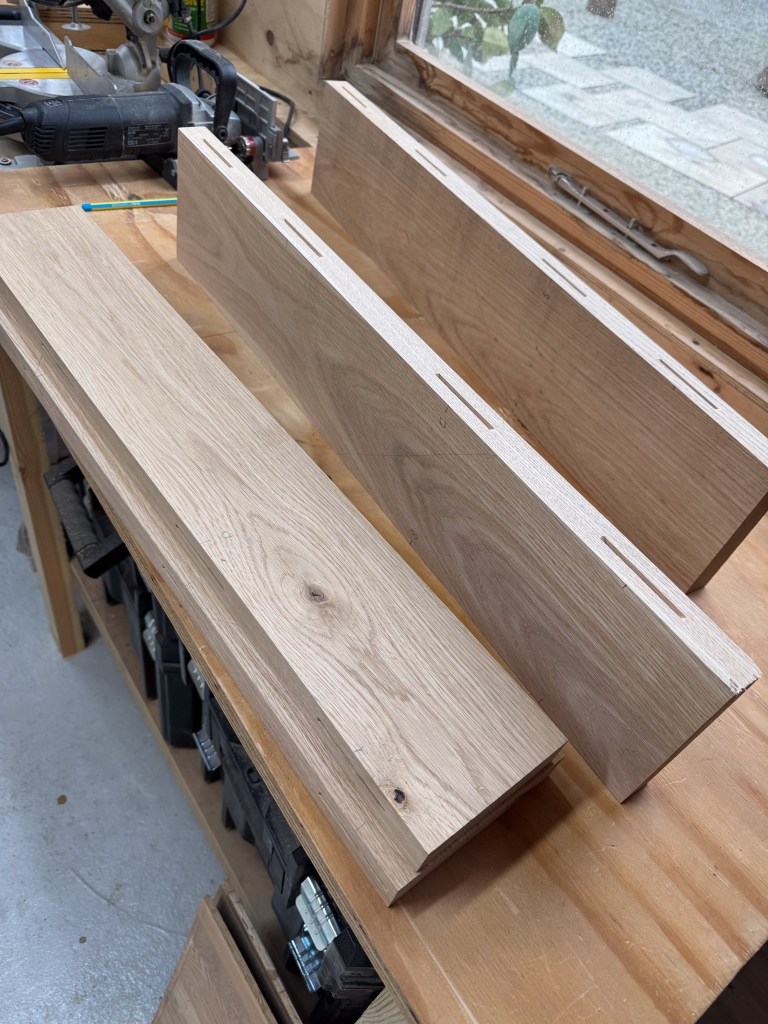
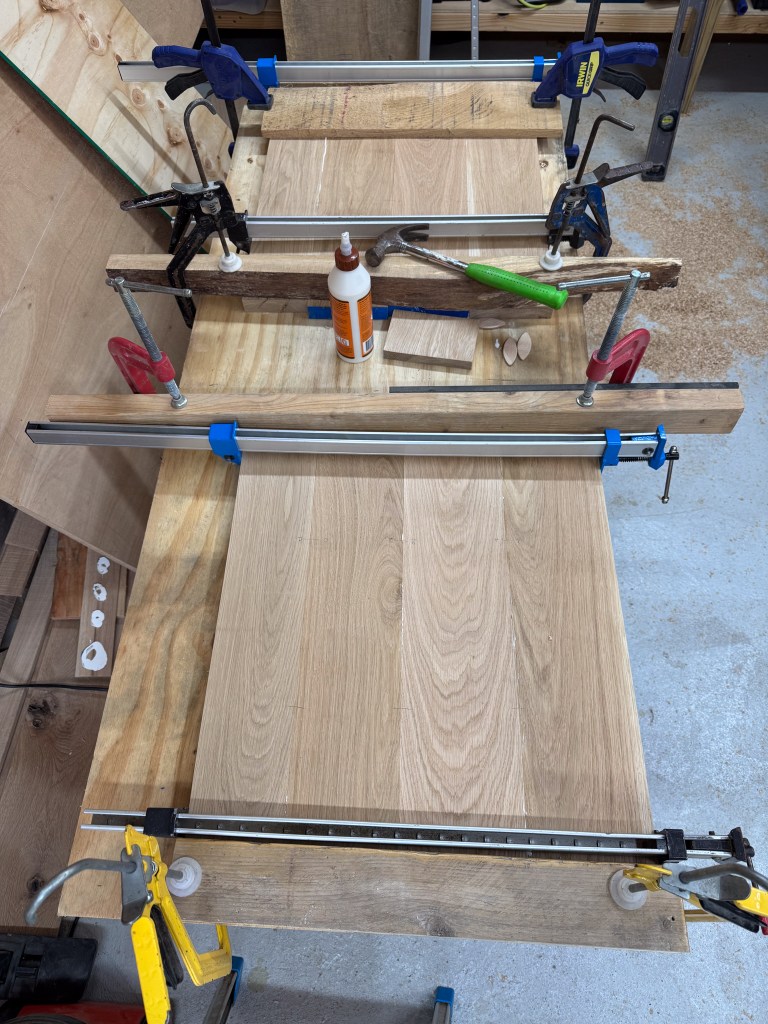
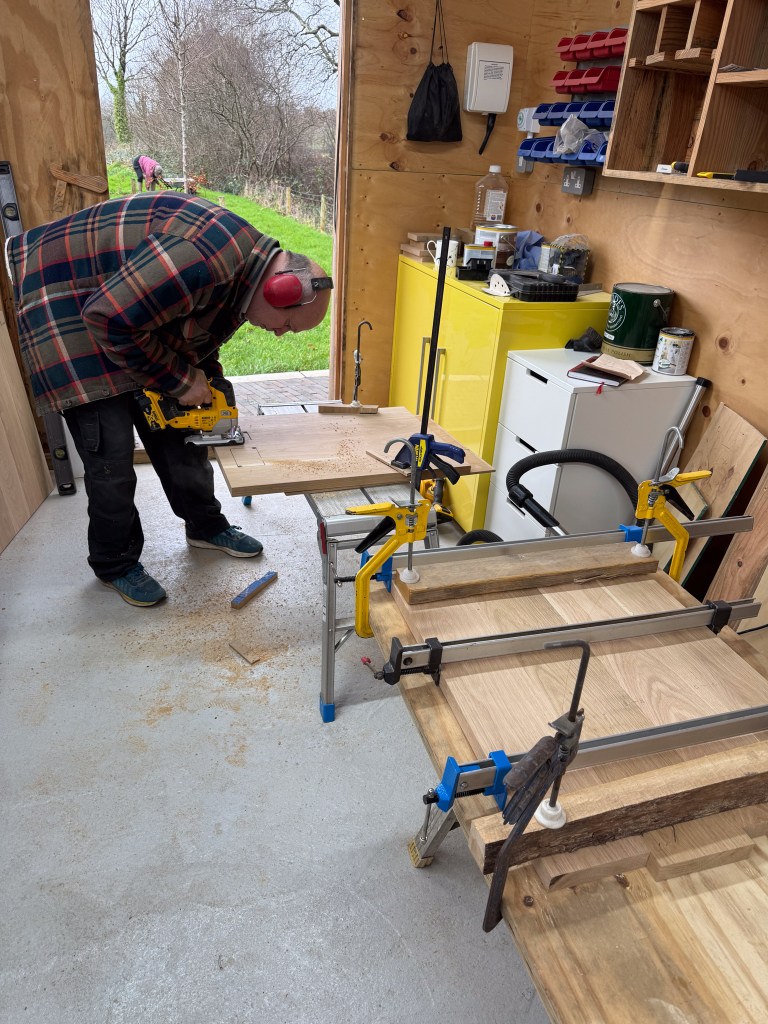
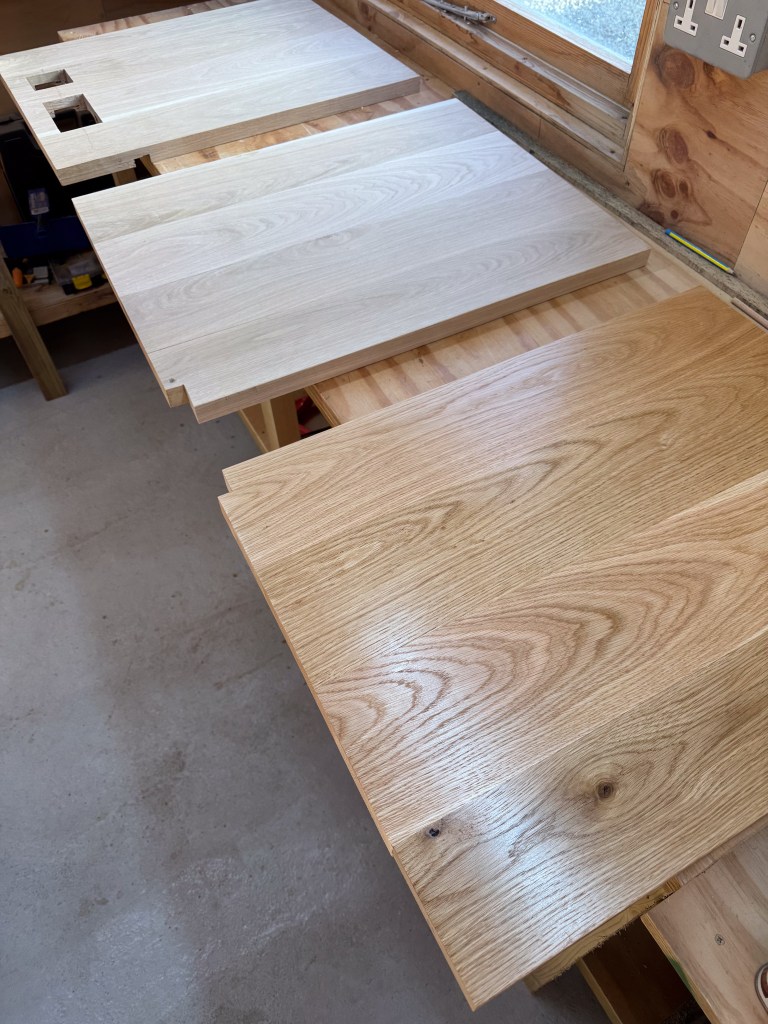
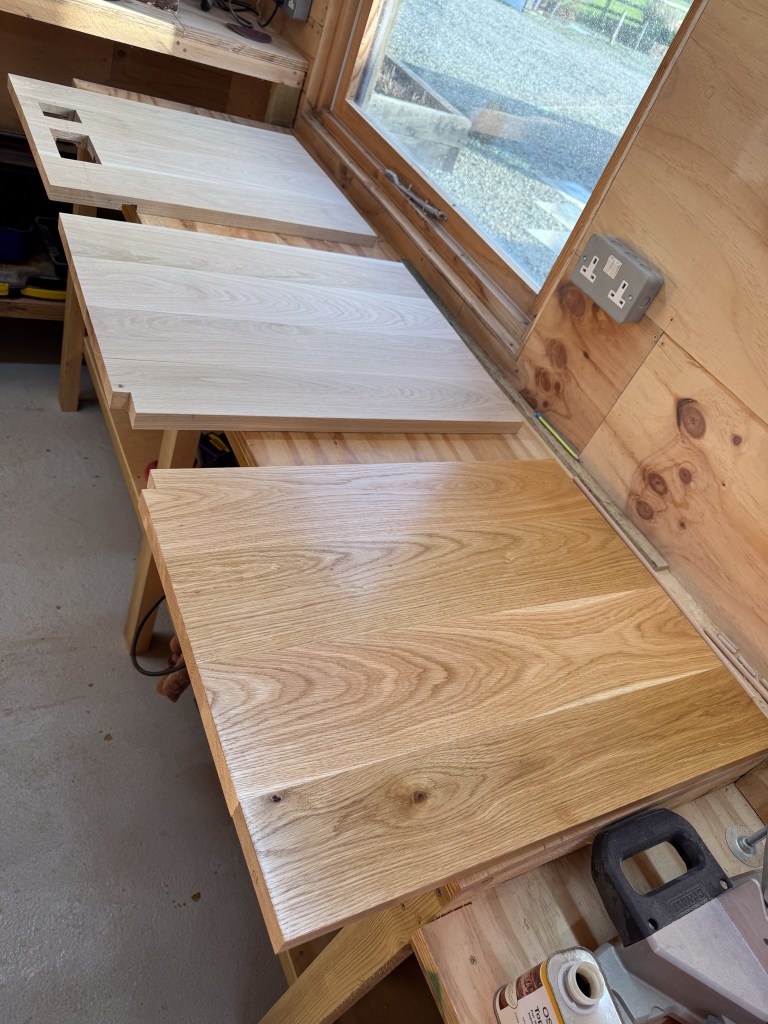
We set about chopping the boards down to length before machining them down to an equal thickness using my now invaluable DeWalt Planer/Thicknesser. Next we biscuit joined them together and left the glue to dry. After a final sanding and in order to match the top, I used the same Osmo combo of wood protector and 4 coats of top oil giving the wood a rich, natural finish.
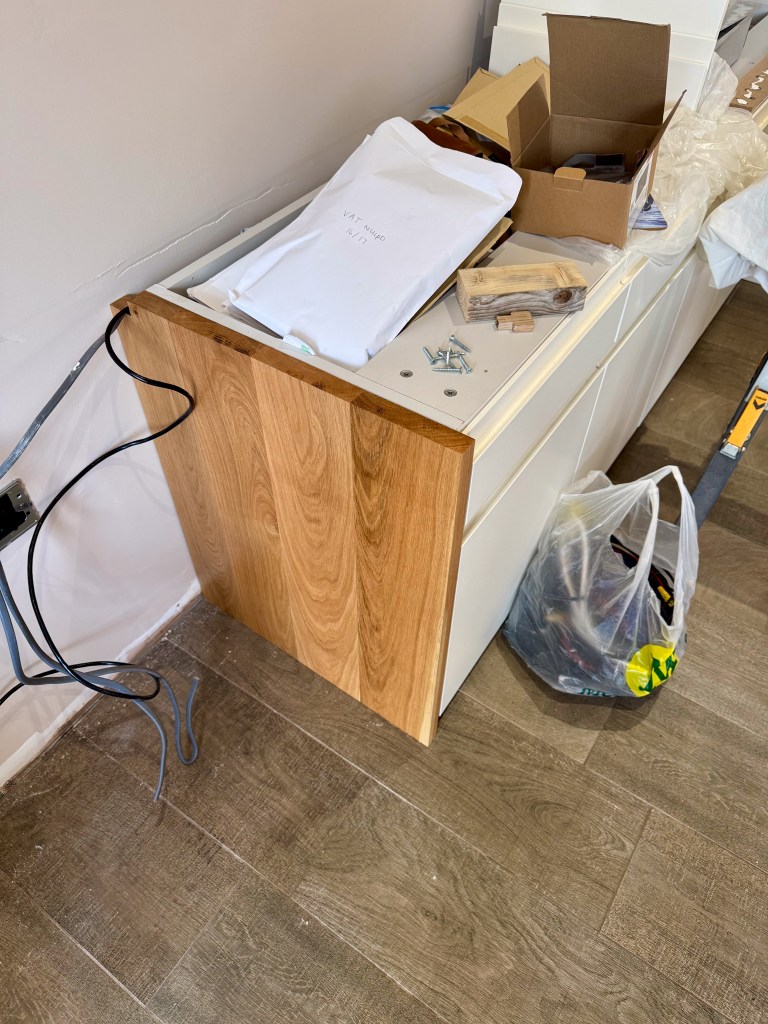
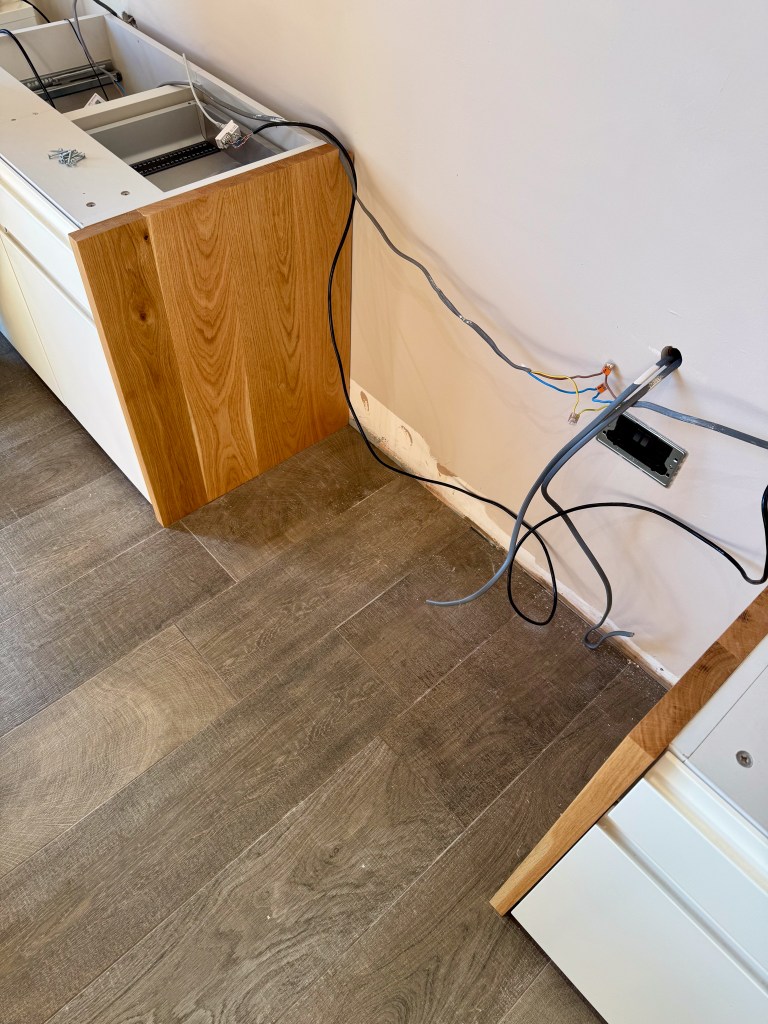
One of the sides needed to have two sockets put into it so we again cut out holes to house them and routed a channel in the back for the cable. The sides also needed to have a recess notch cut into the bottom back to allow for the skirting board and one at the top back for the electric cable to pass along.
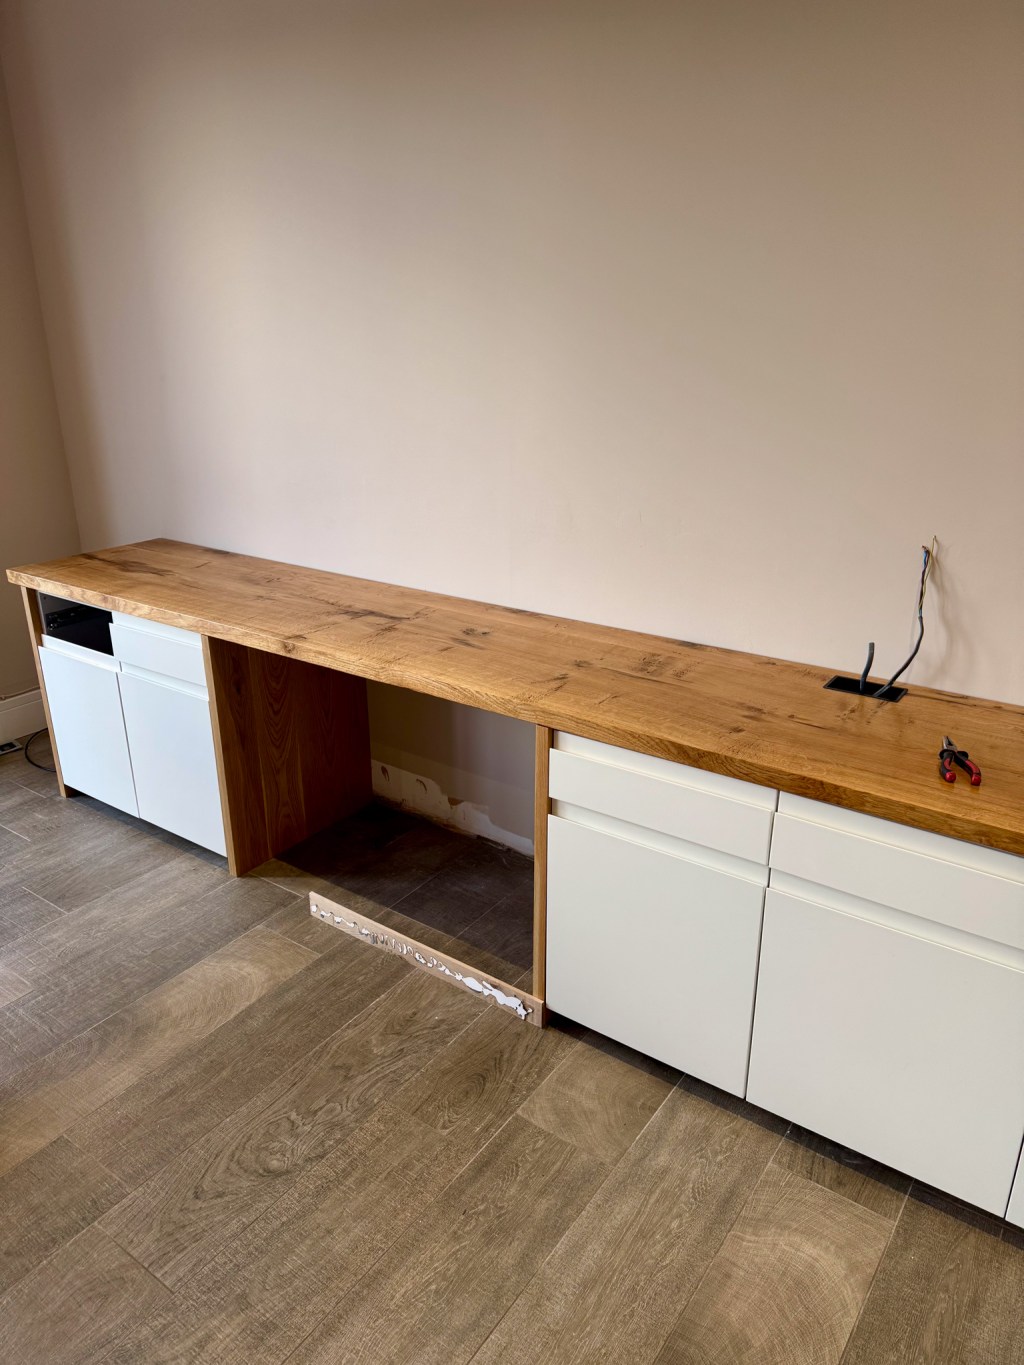
Once all that was done, fitting them was again straightforward and simple, using the same holes and screws the cabinets had previously. It was all starting to look good…

Leave a comment