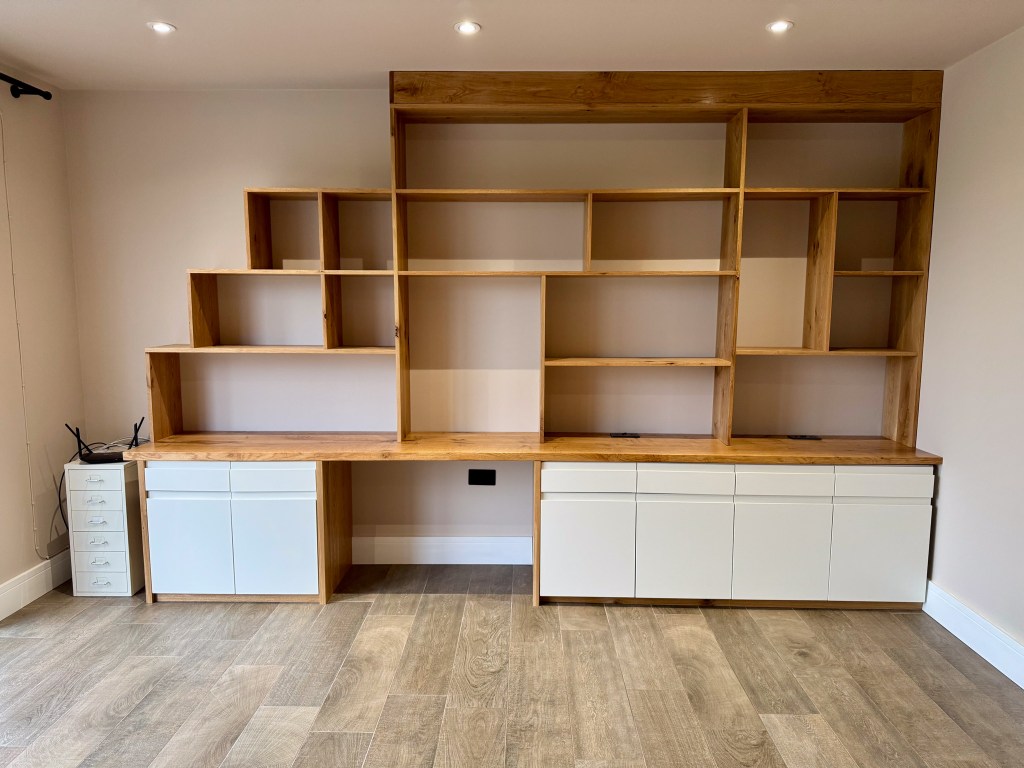
The shelf unit would be one of two items of furniture in the room that was intended to be eye-catching. I therefore spent a lot of time planning this piece.
I had a blueprint with the previous unit we’d stripped out which we’d loved practically but disliked aesthetically. I’d measured it very carefully before demolition. I made a few alterations but essentially it was to be a pretty accurate copy, just made out of real wood, Oak, not faux, fake looking veneer.
I wanted the base that would sit on the cabinets to be one thick solid piece of oak that’d be over 3 metres in length so not easy to source. The shelves would be oak, meaning I’d have to make them up individually. The cabinet sides, also oak but thick like the worktop. I sourced the big oak slab from a mill on Dartmoor and it was an impressive piece, fully kiln dried and ready to go. They offered to machine it to the correct thickness and make the cuts to size. Result.
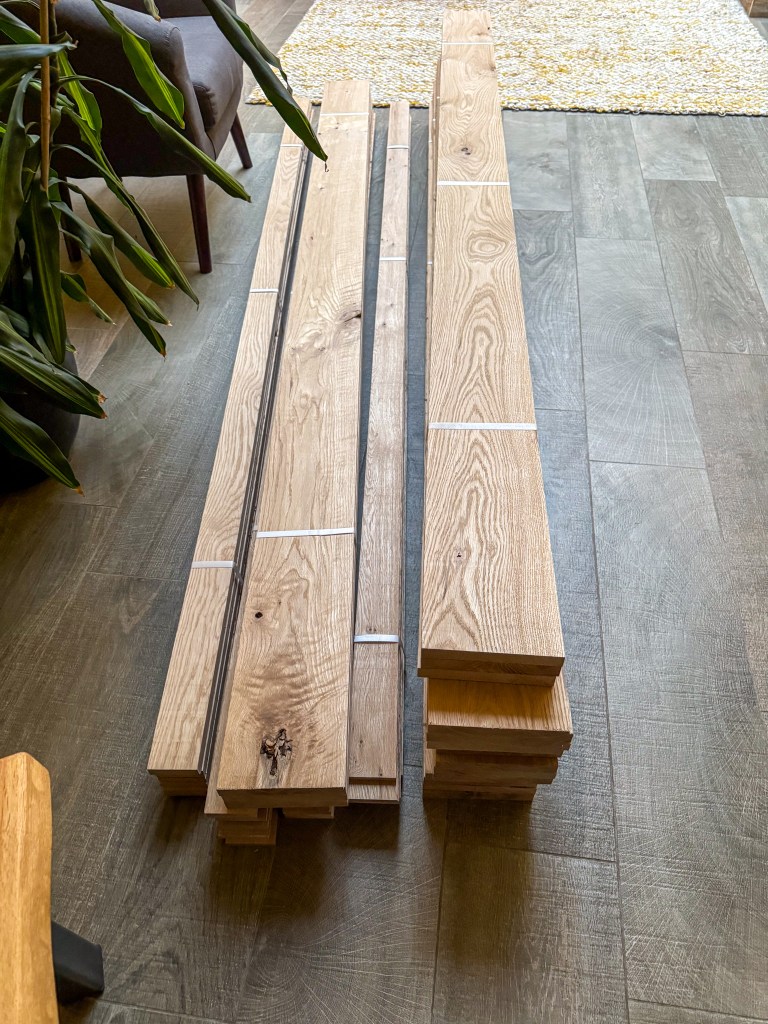
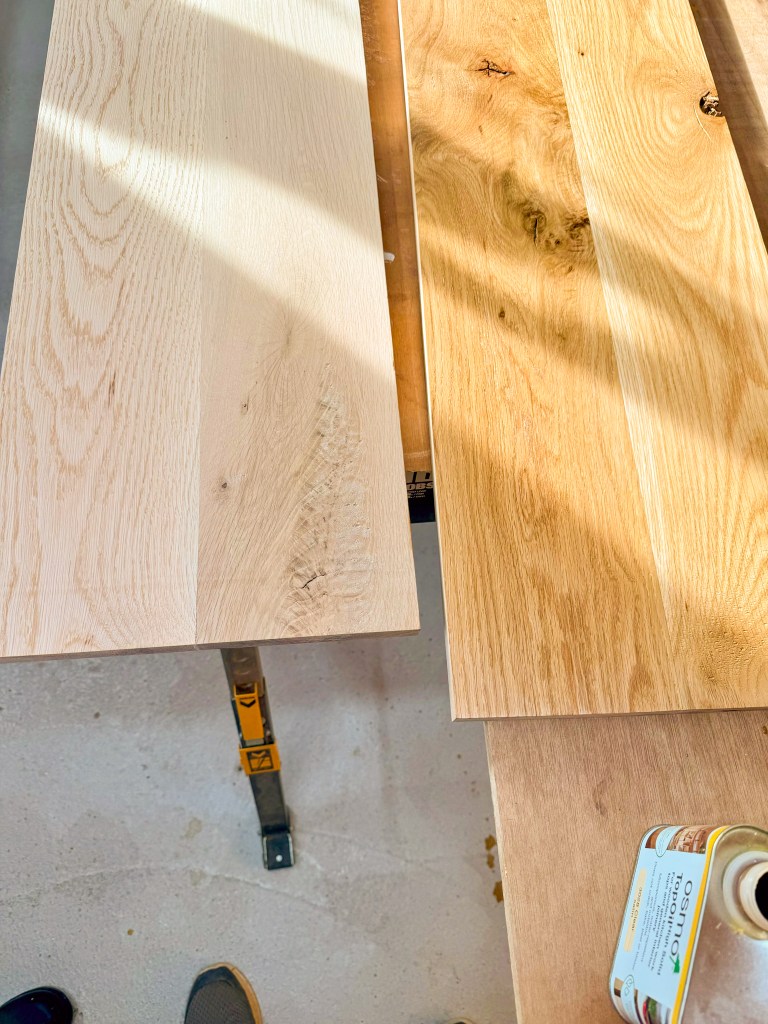
For the shelves, I looked at trying to source wide 300mm lengths and although available, were a ridiculous price. I opted to go back to trusty Winkleigh Timber, our local wood yard, and order boards at 150 mm that I’d join to make the required width.
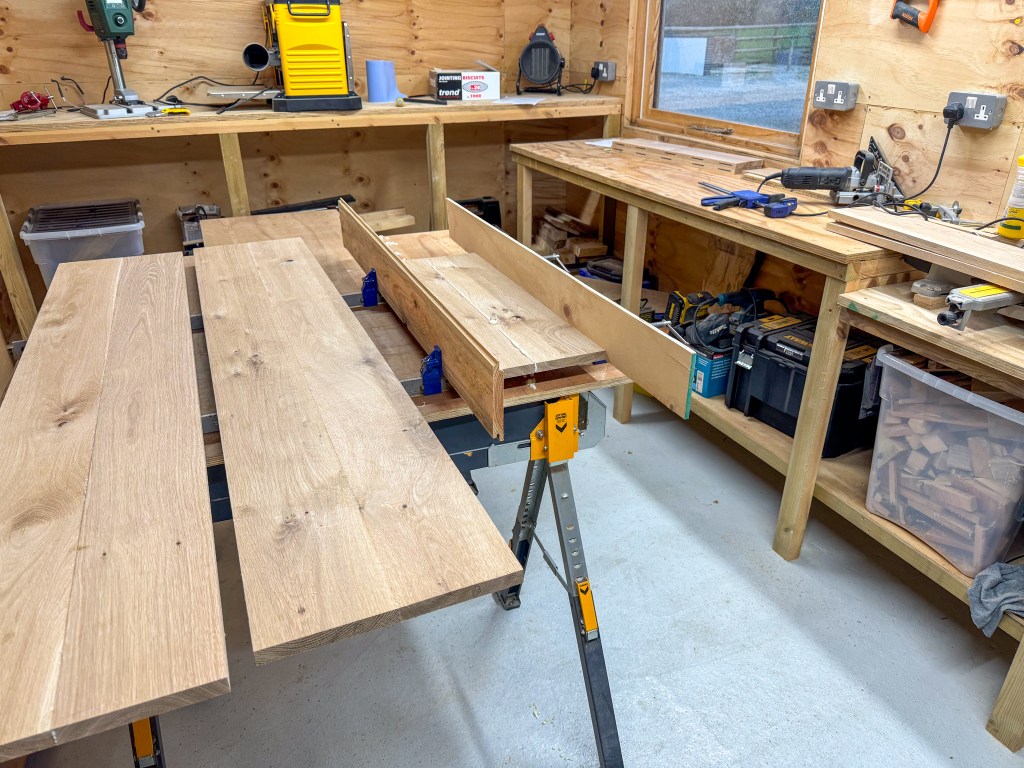
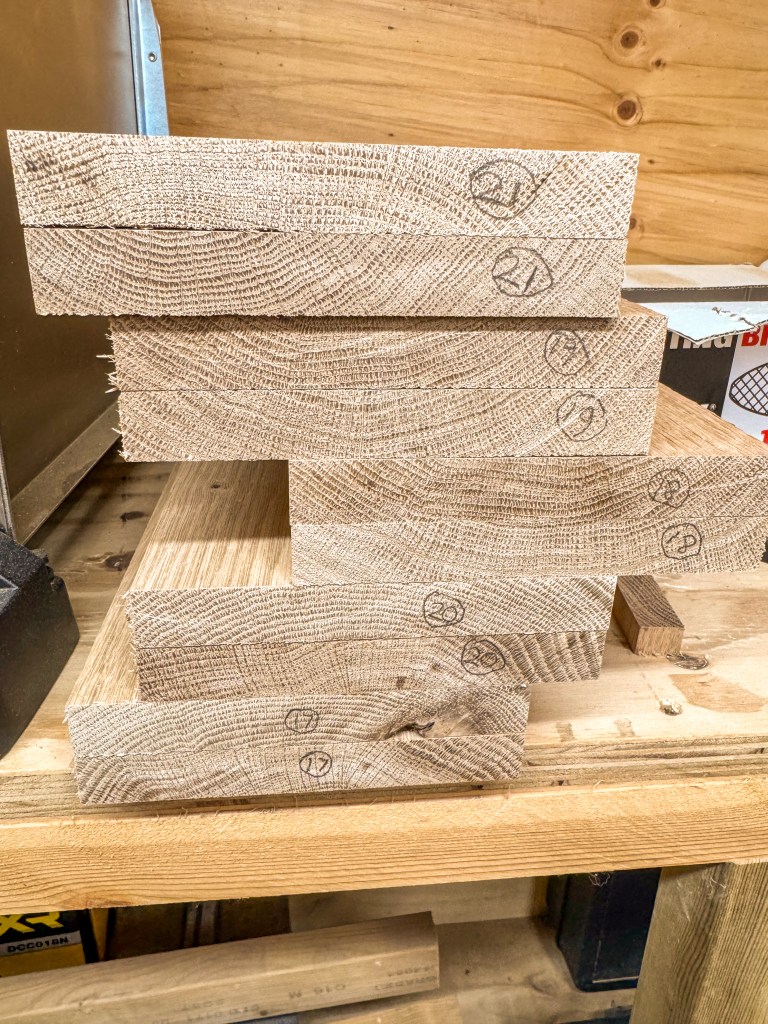
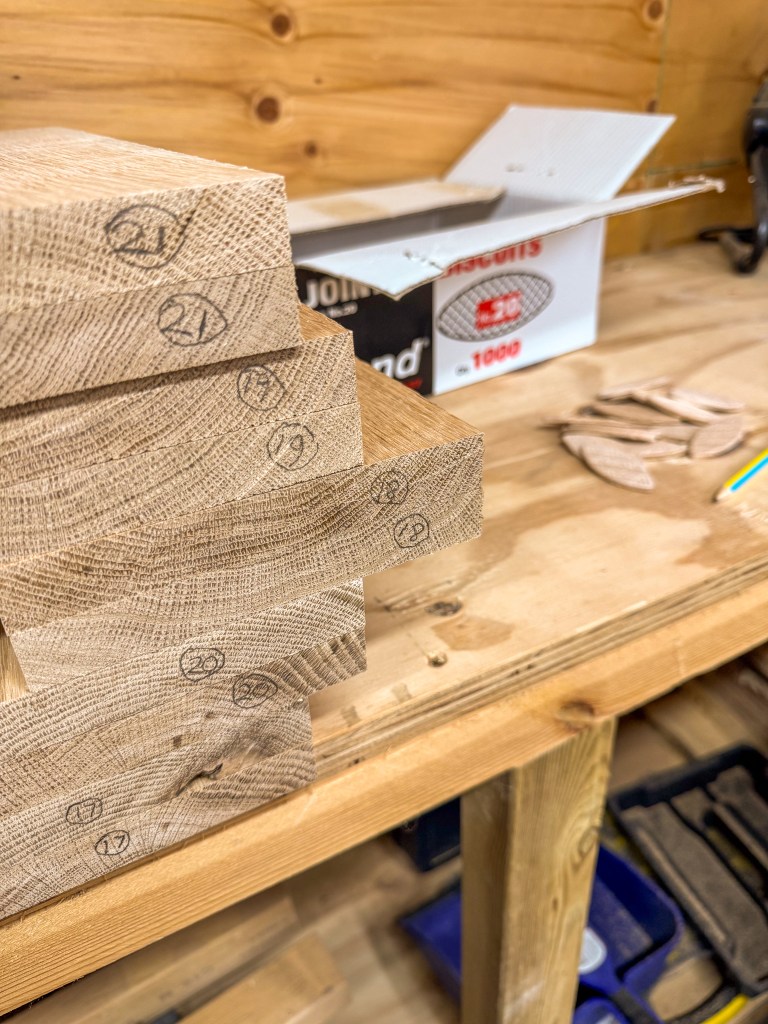
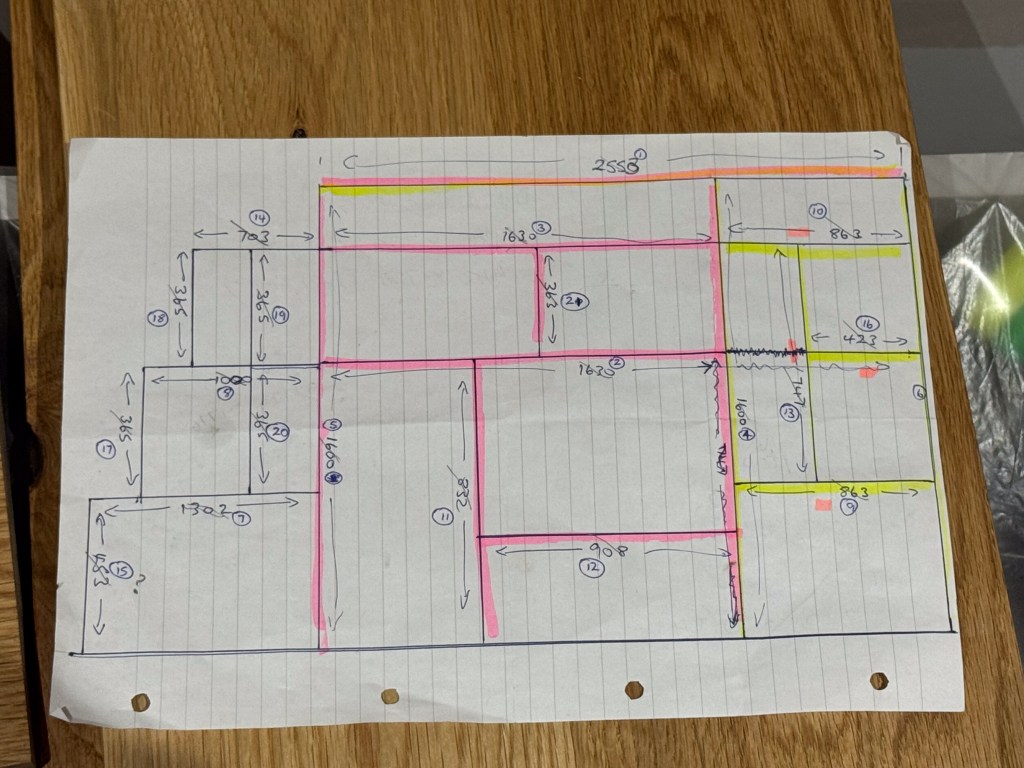
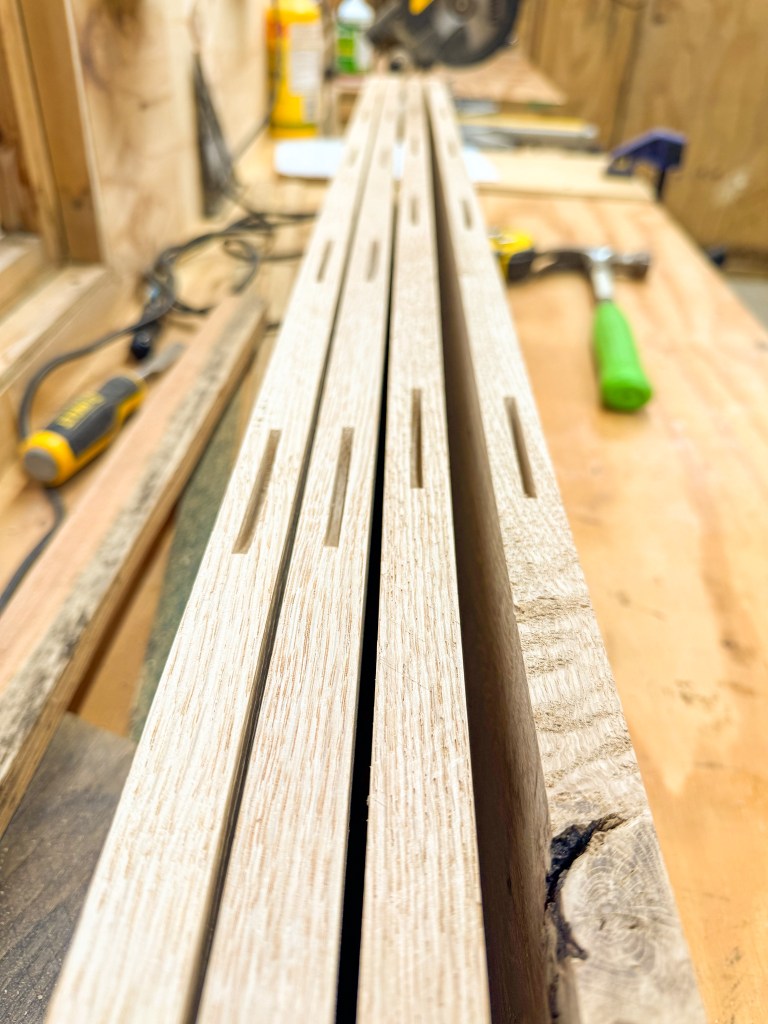
With all ordered I awaited the delivery, first of the boards, then the worktop. I set to work almost straight away on the boards, carefully cutting lengths as per my plan. I even numbered each piece and crossed each one off my cut list to avoid duplication and errors. Once I had them all the right size, I started to biscuit join the lengths together for each component. I was careful to make sure each set of shelves that made up one section were exactly the same length so as not to throw out the uprights. It was a long and painstaking process that took longer than needed but meant the pieces were as accurate as I could get them. Glue ups were also slow as I only had a set number of clamps. There was no rushing this job.

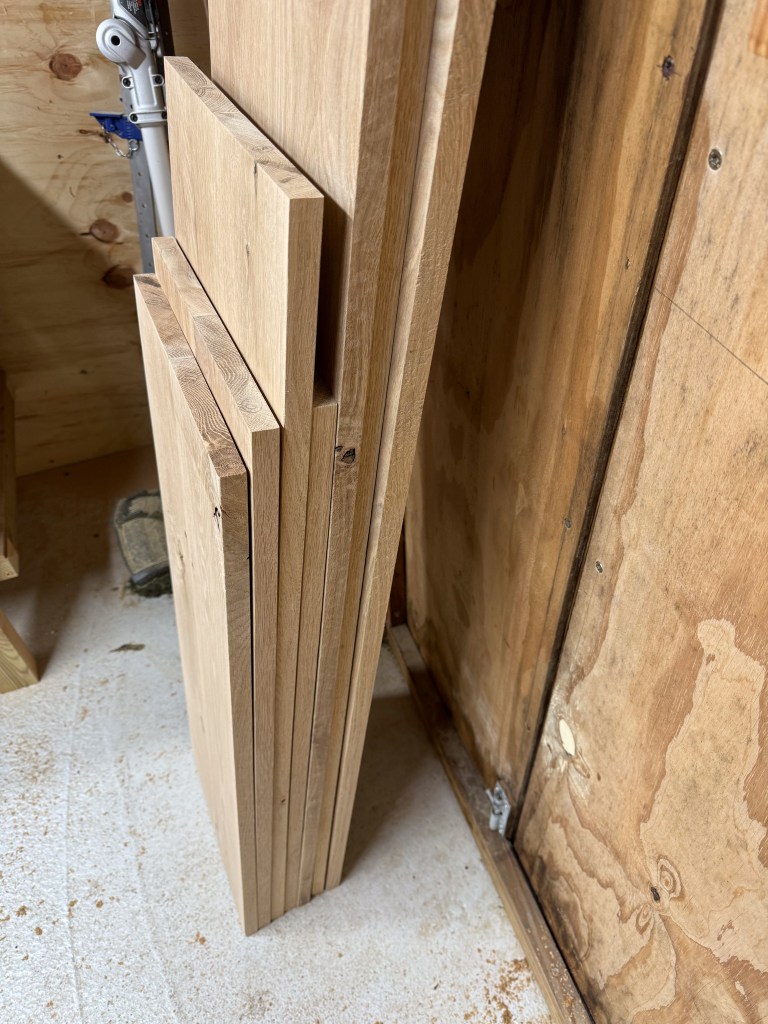
Once that was done, I planed them all down to an even thickness using my Dewalt Planer/Thicknesser. That was again fun and messy! By the time I’d made up all the pieces I was pretty sick of the sight of oak boards! However, the imagined end result kept me going. I ended up with 21 lovely, straight pieces that would eventually make up our new shelving unit.

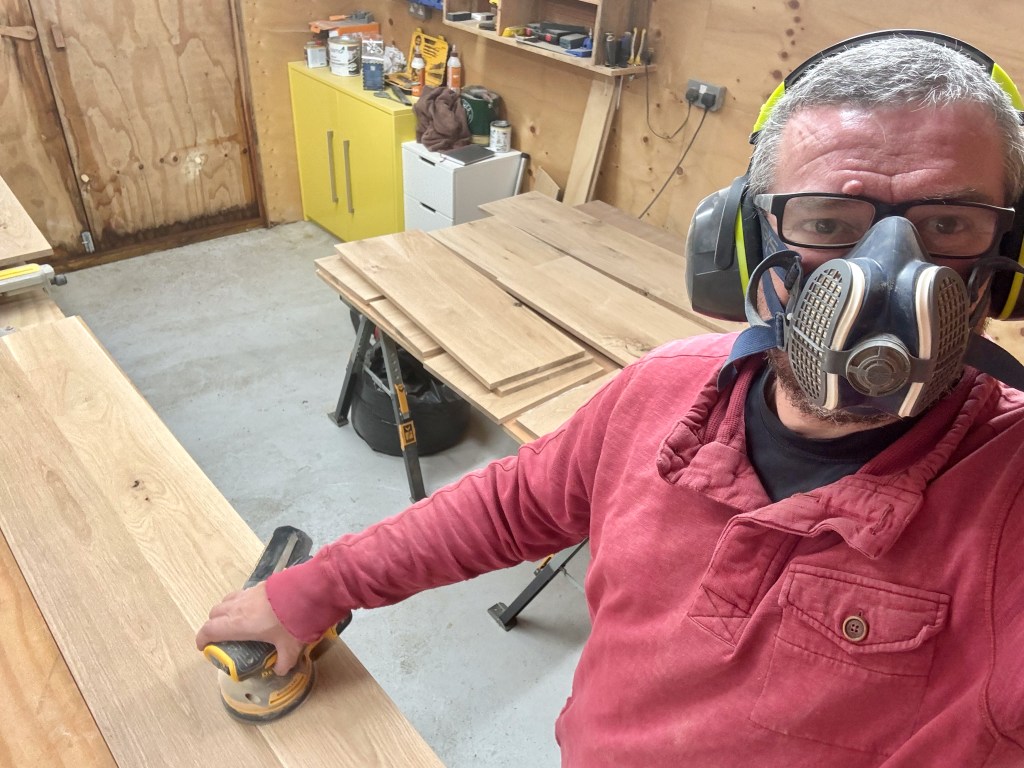
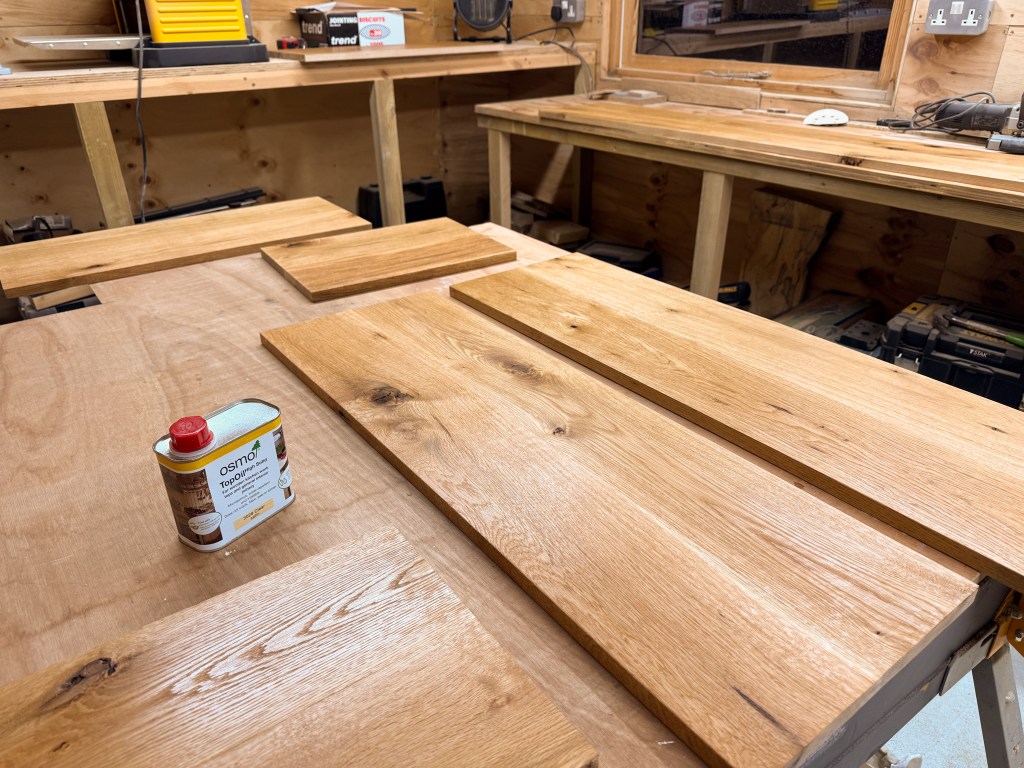
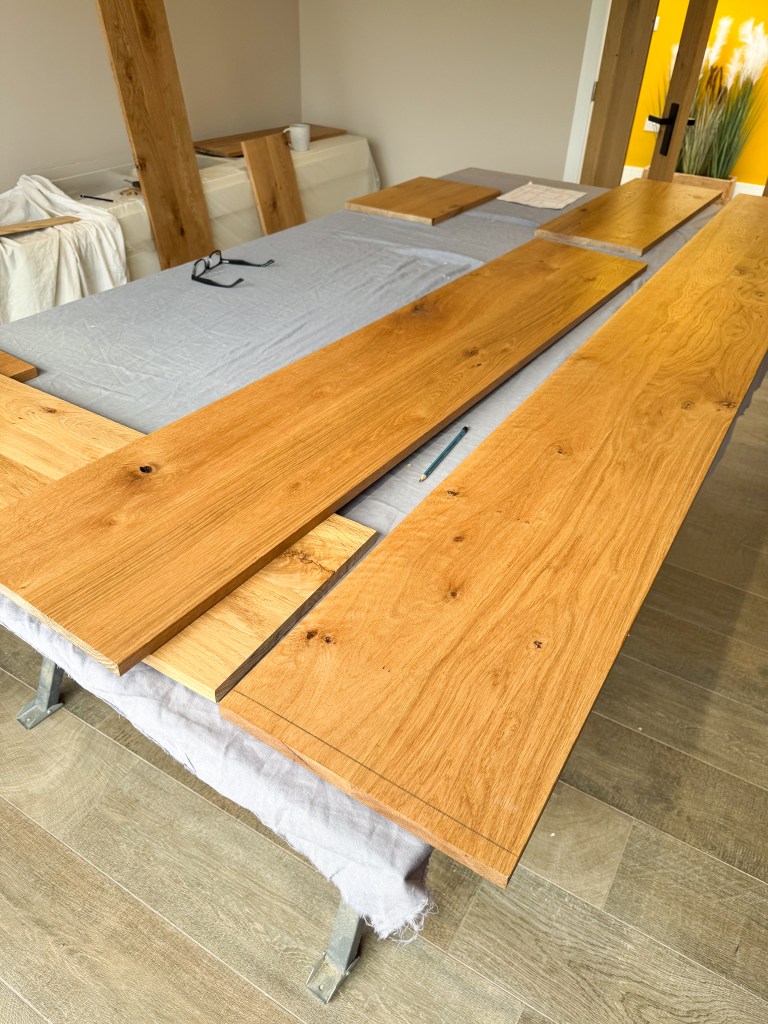
I quickly sanded all sides with a 240 grit paper on my palm sander. The last task was to cover them all in two coats of Osmo Top Oil. I used my now-trusted method of a lint-free cloth (small cut pieces from an old T-shirt) and simply wiping the oil on evenly and thinly on all sides. Again, this took a long time due to the number of pieces, the two coats, both faces and sides and lack of drying space! I gave them at least 24 hours drying time between coats which is probably more than necessary but I guess there’s no point in rushing and ensured consistent and even results.

Leave a comment