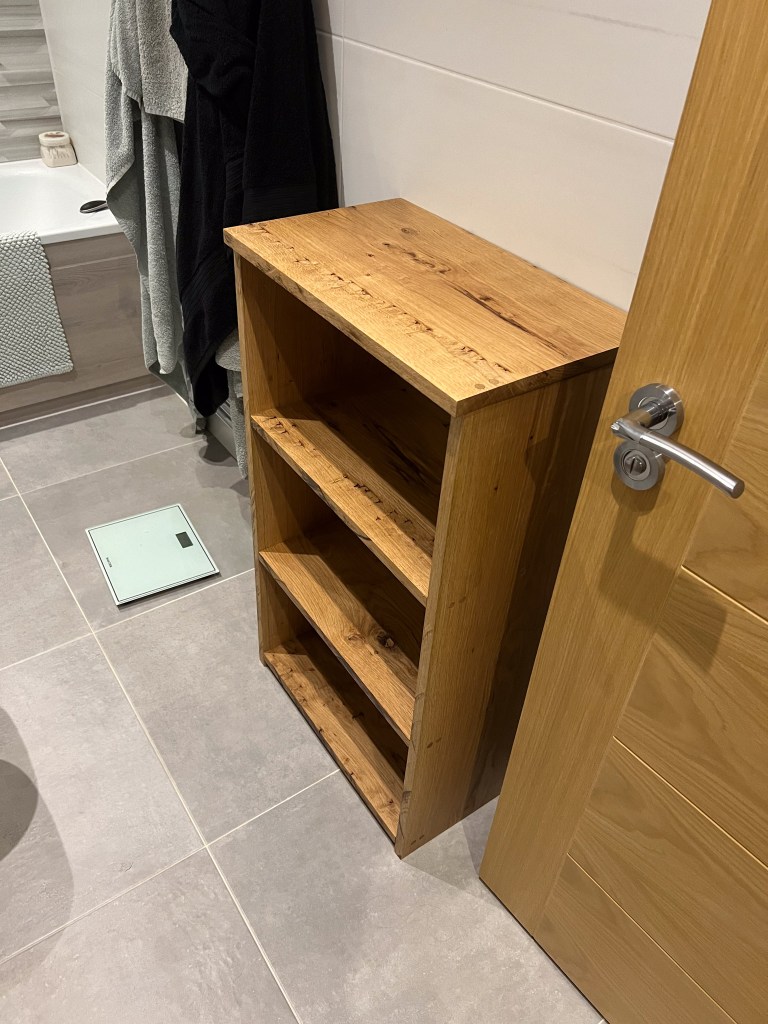
We’d more or less finished our massive garden landscaping project and I was left kicking my heels for a bit over Christmas and the New Year. I mistakenly told my daughter I was needing a new project. She said she was looking for some bathroom shelves to put all her cosmetics in.
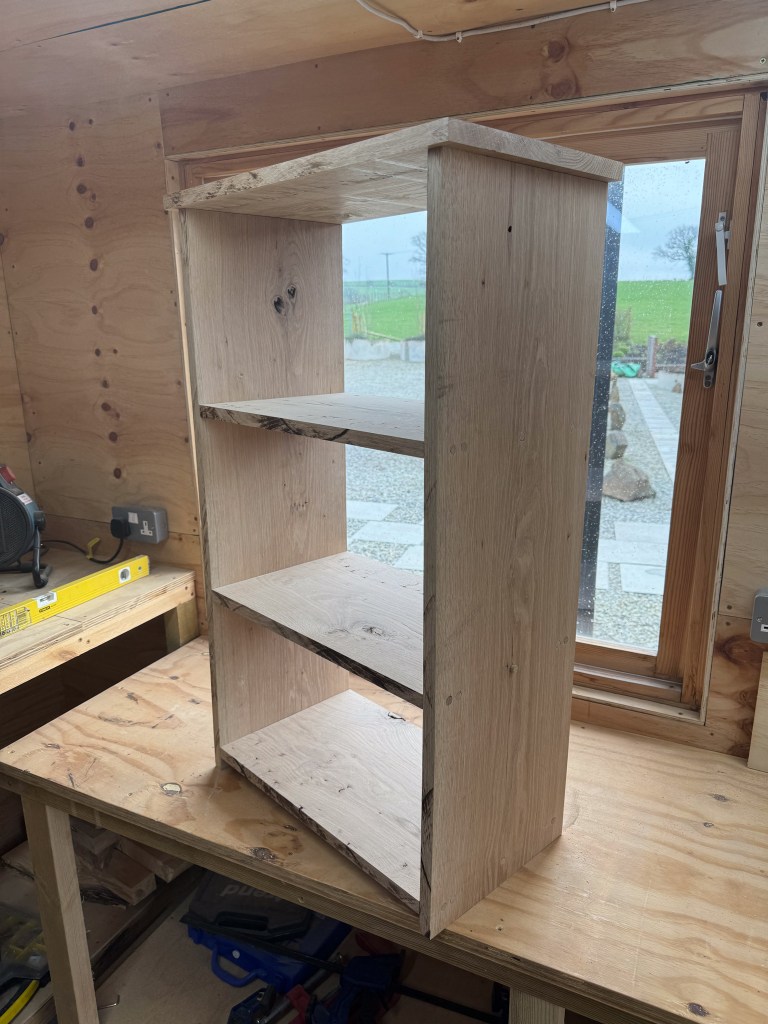
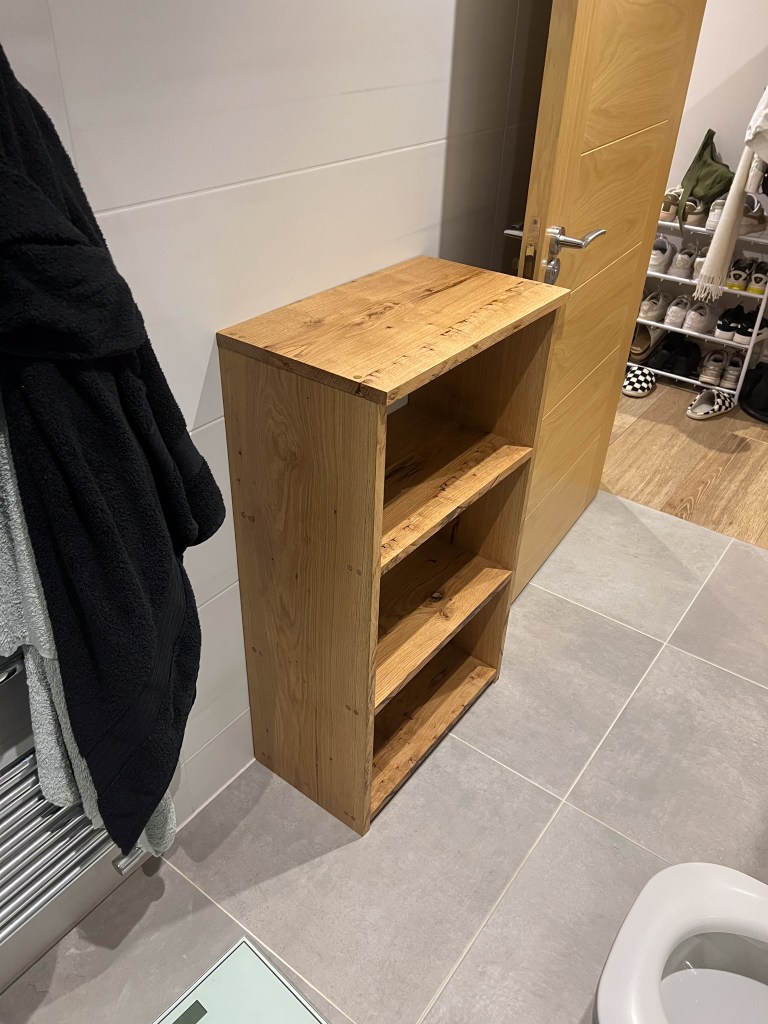
After a few chats I managed to get to the bottom of her requirements and we drew up a plan. They were to be freestanding and fairly tall so she could place baskets on each of the shelves and bottles on the top. She decided Oak would be perfect and we agreed the dimensions.
In the spirit of learning, I decided I’d try to make them without any nails at all! A brave shout I realised once I started looking into my options. After a lot of research and thought, I decided to opt for doweling the joints. Knowing nothing about the process, I searched online for advice and tips.
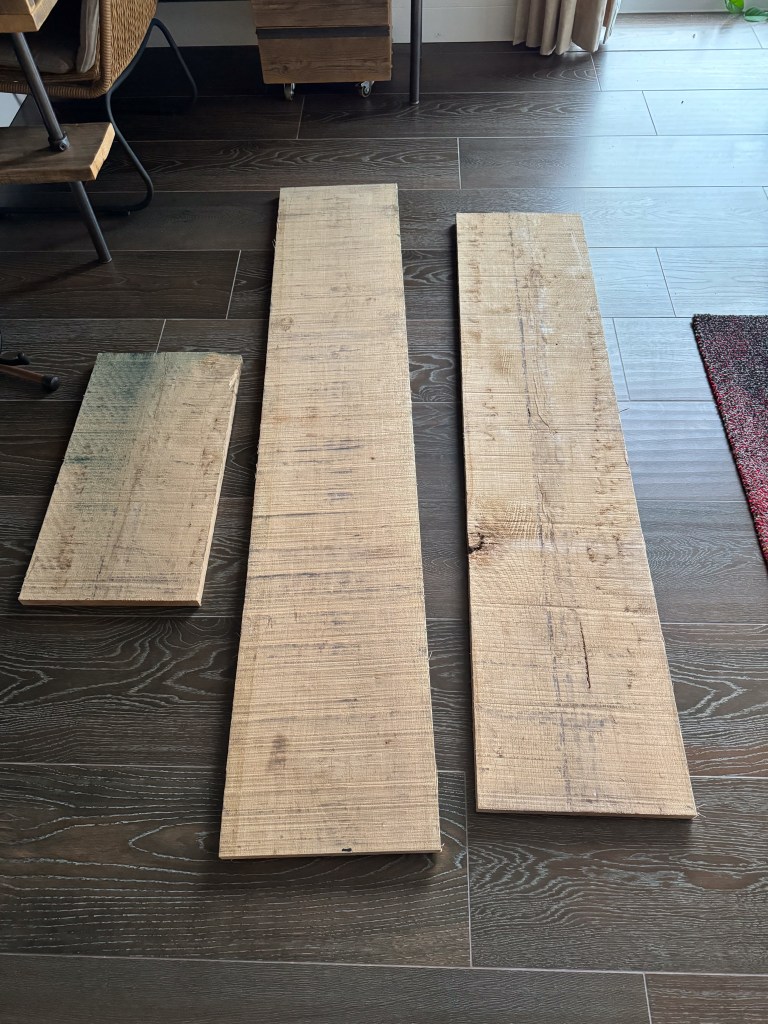
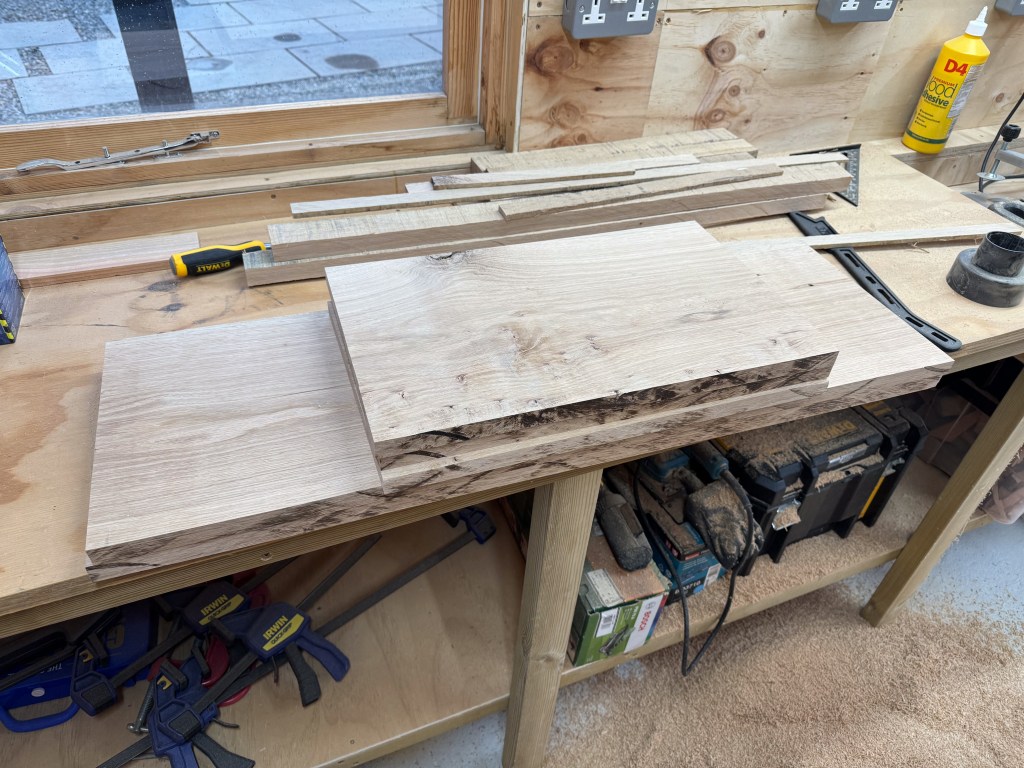
I visited Winkleigh Timber again and ordered the boards I’d need. I didn’t ask them to plane the boards as I wasn’t sure at that stage how thick I needed them. I’d purchased a Dewalt planer/thicknesser and enjoyed using it so this was another perfect excuse. I chose to pay a bit more for wider boards so I didn’t have to join them together and they’d look cleaner when complete. I also ordered some oak dowel rods online which surprisingly turned out to be inexpensive.
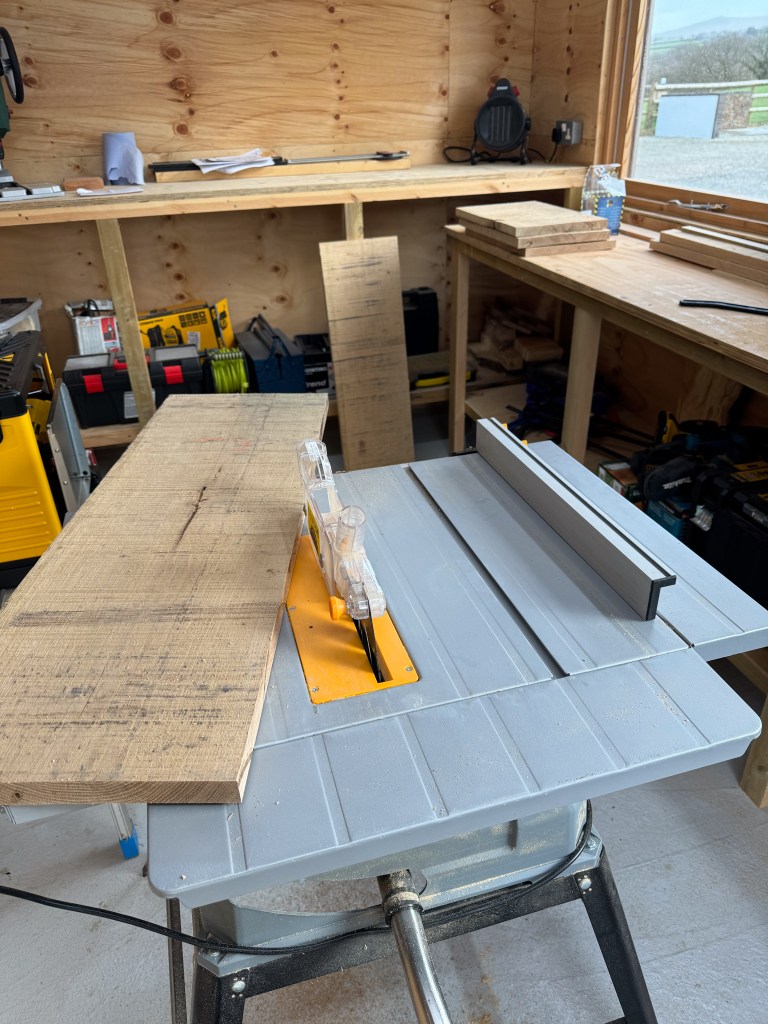
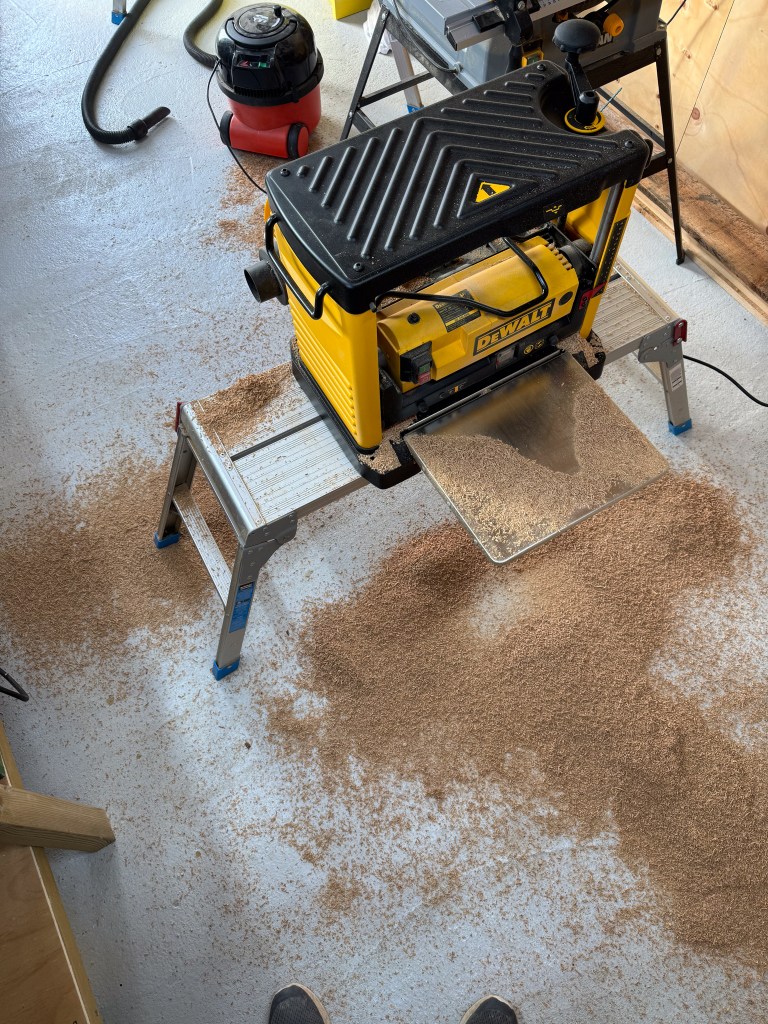

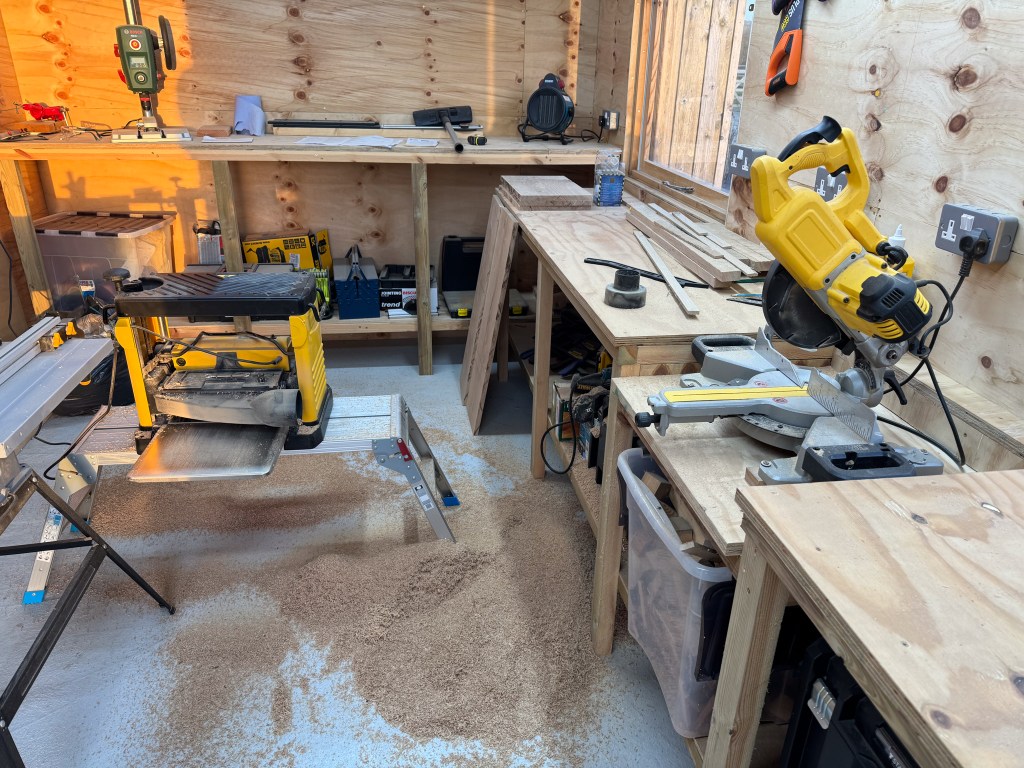
I cut the boards to size as accurately as I knew how and then planed all of the shelves and sides to the correct thickness. I made loads of man glitter and had a thoroughly good time getting messy. The resulting timber already looked good. I love the look, feel and smell of raw wood. However, I now knew the hard bit was to come.
My main concern was the question of how on earth do you line up and measure accurately, each supporting side to eliminate my main dread of sloping shelves? Drilling and doweling was made easier by purchasing a few items. One was a drill guide to make sure I drilled holes at 90°. The other was a lovely heavy metal dowel drill guide that ensured holes were made evenly and straight. I also purchased some dowel hole markers that are little metal ‘stoppers’ with spikes that mark wood to help with the alignment of dowel holes on the piece you want to join.
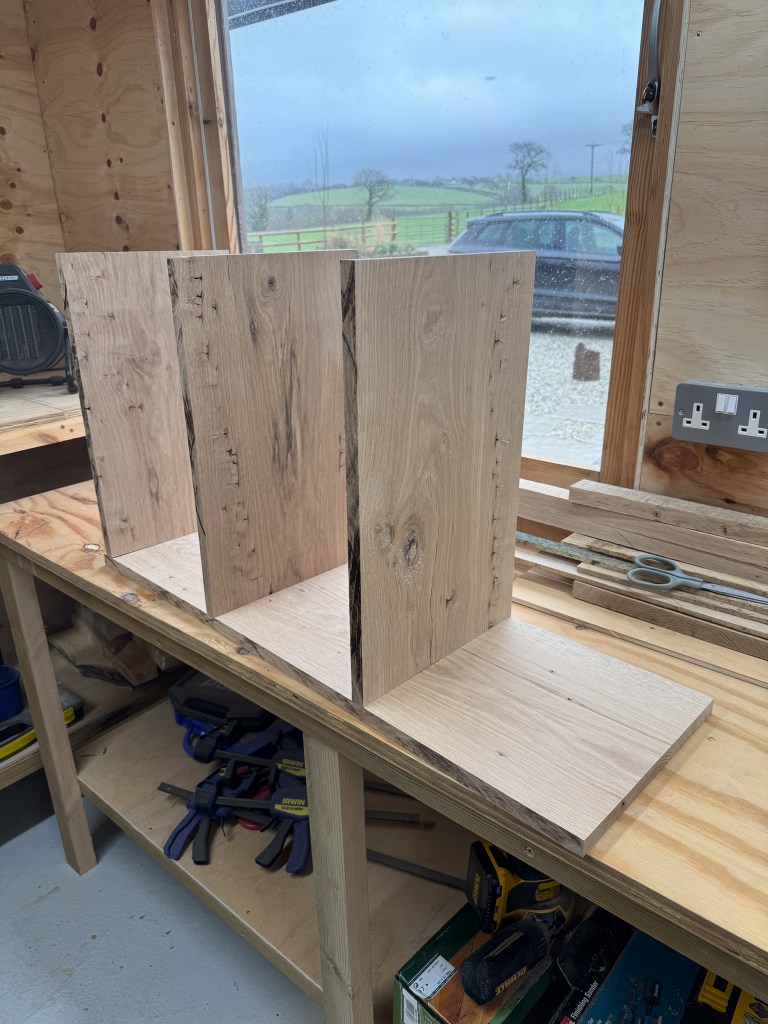
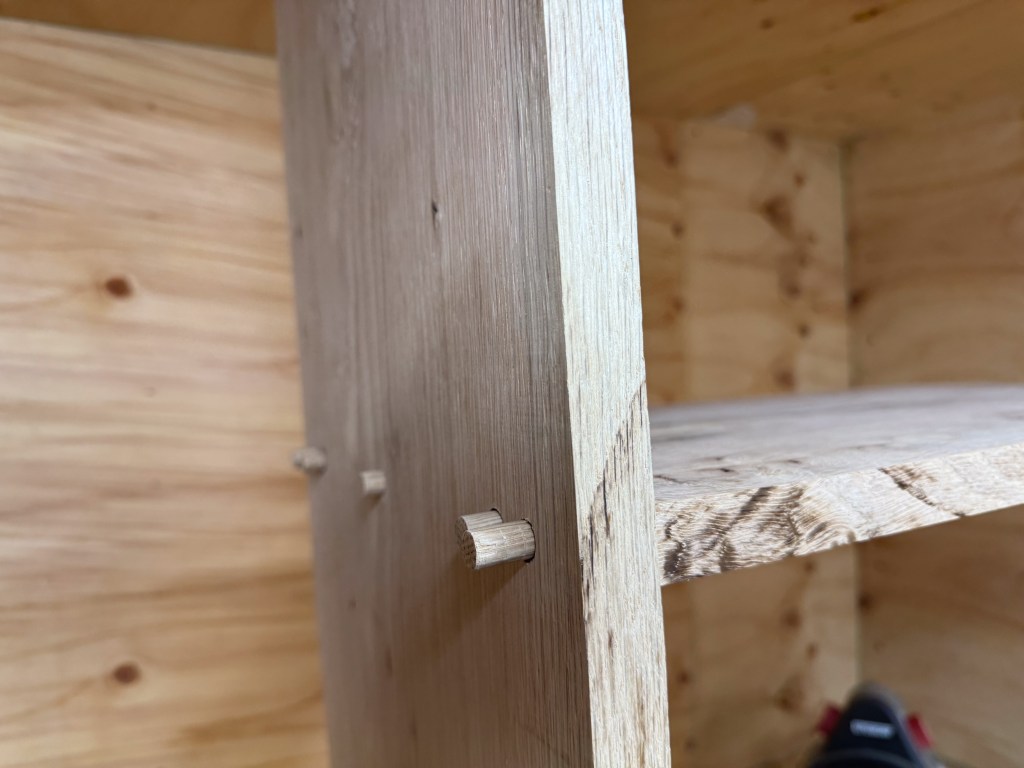
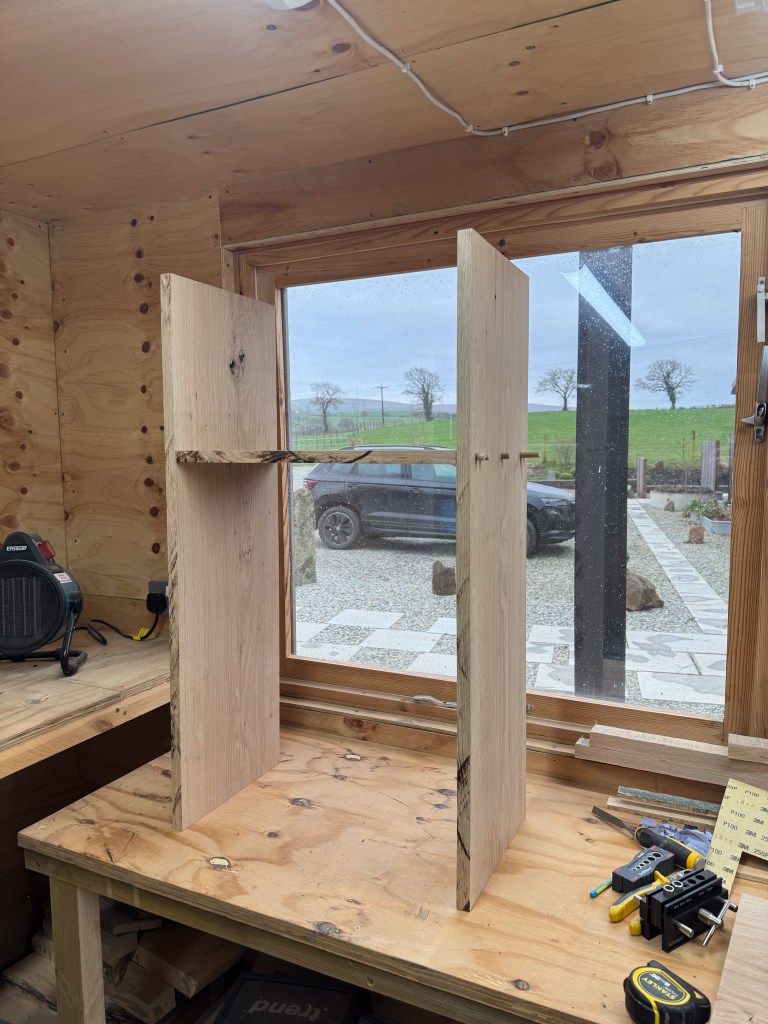
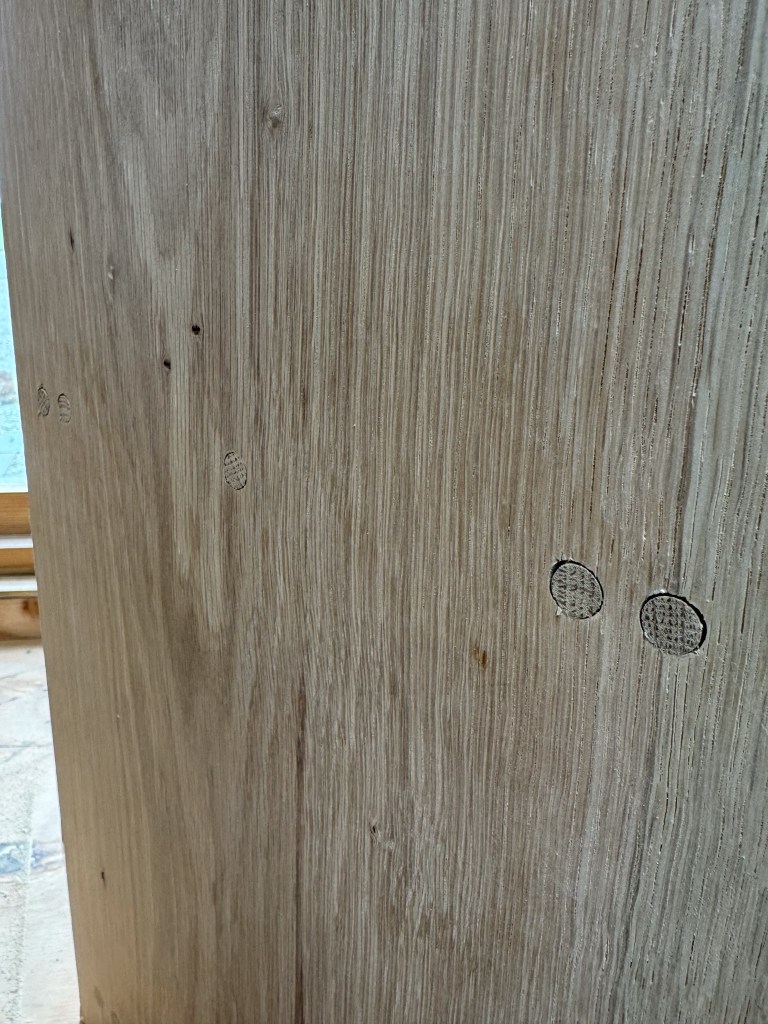
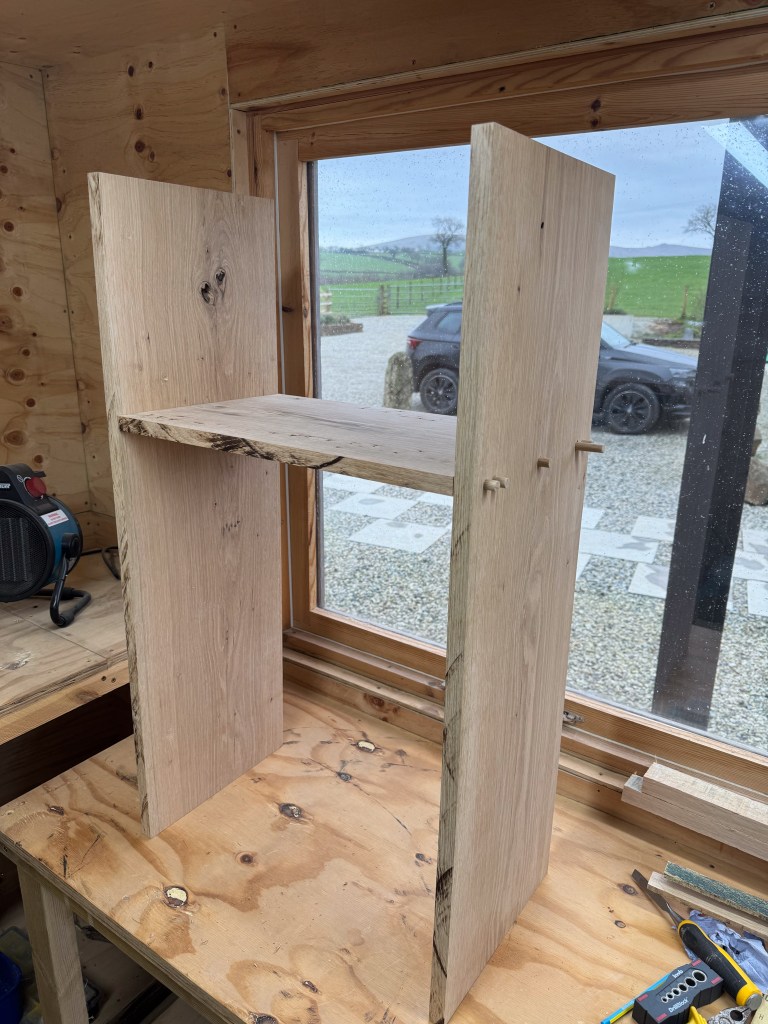
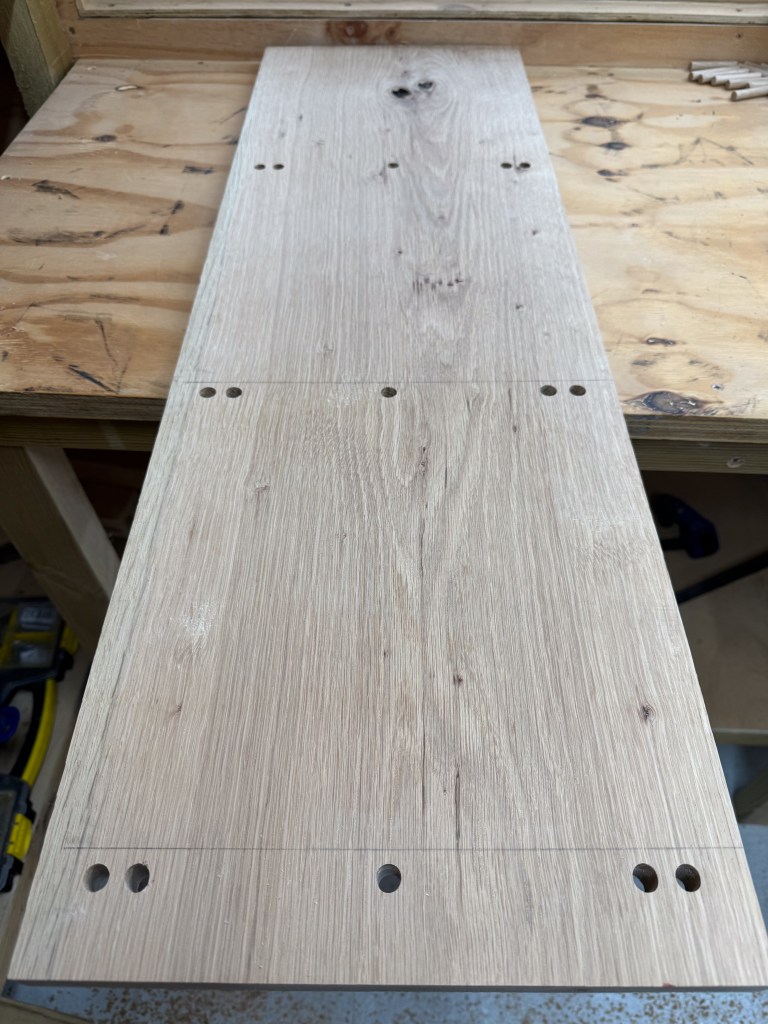
I’m not going to pretend that this all went swimmingly and there were no issues. In fact, it was tougher than I’d imagined. Aligning dowel holes was difficult and required careful precision (not my forte). By far the hardest part was constructing the unit. Those dowels are tight with a capital T! I tried gentle persuasion and that didn’t work. I gave up with ‘dry fits’ and just glued on first attempt as getting them apart afterwards would have proved nigh on impossible. Maybe I shouldn’t have used oak dowels as they’re hard and unforgiving? Maybe my drill bit was fractionally too small?
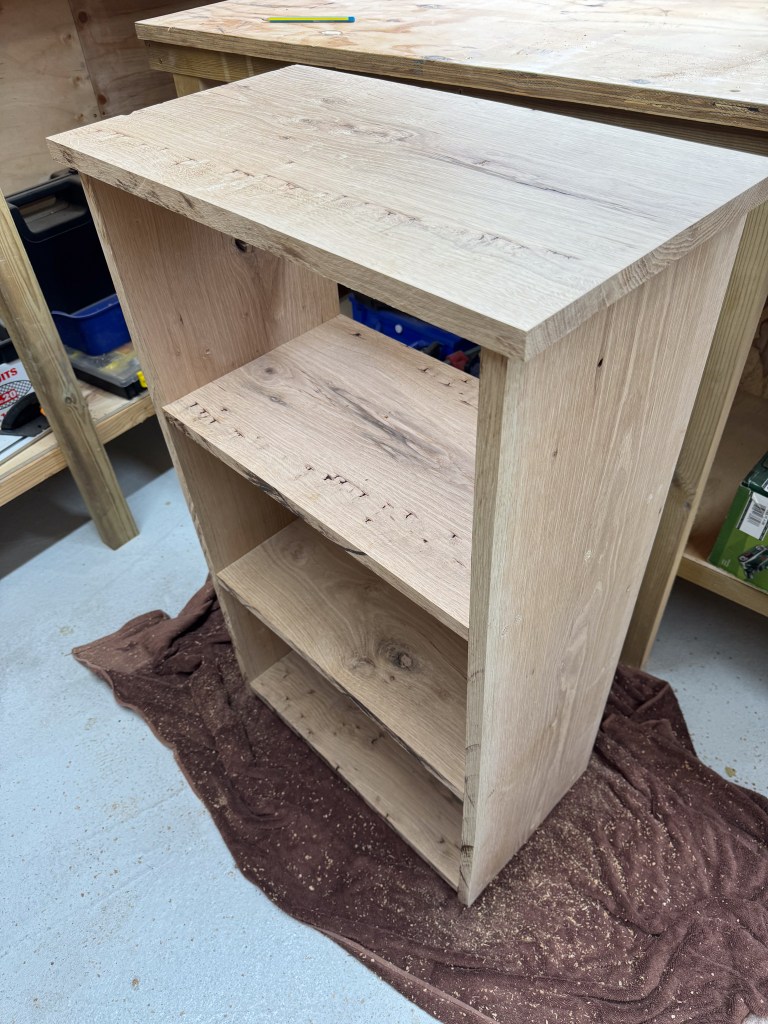
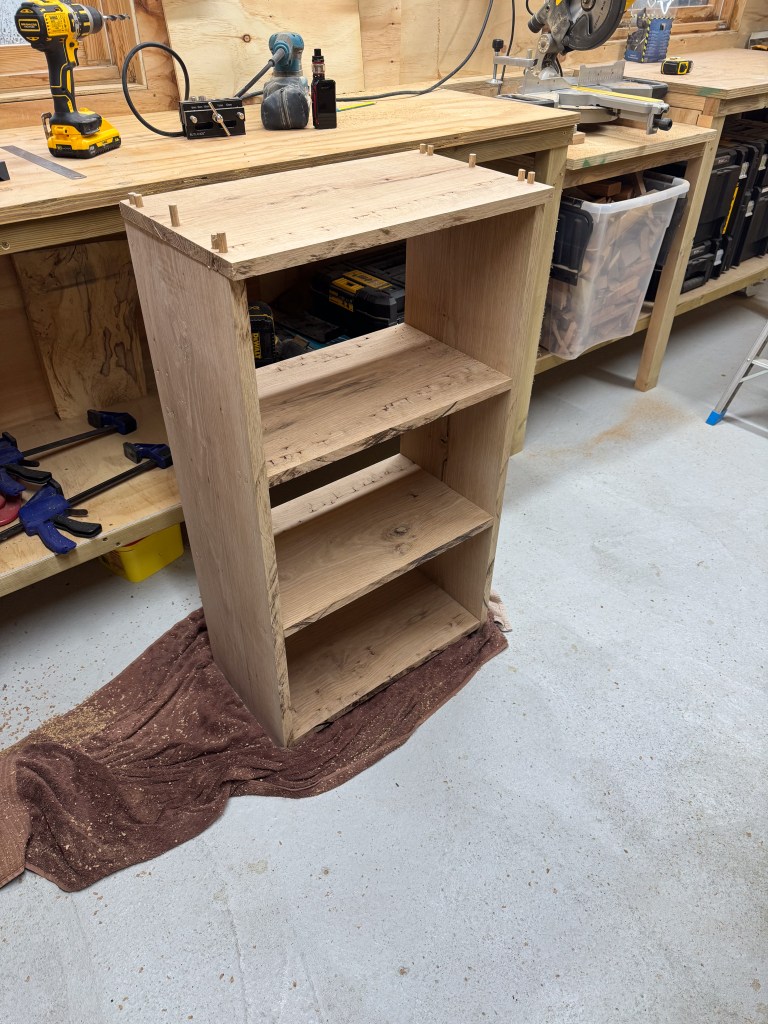
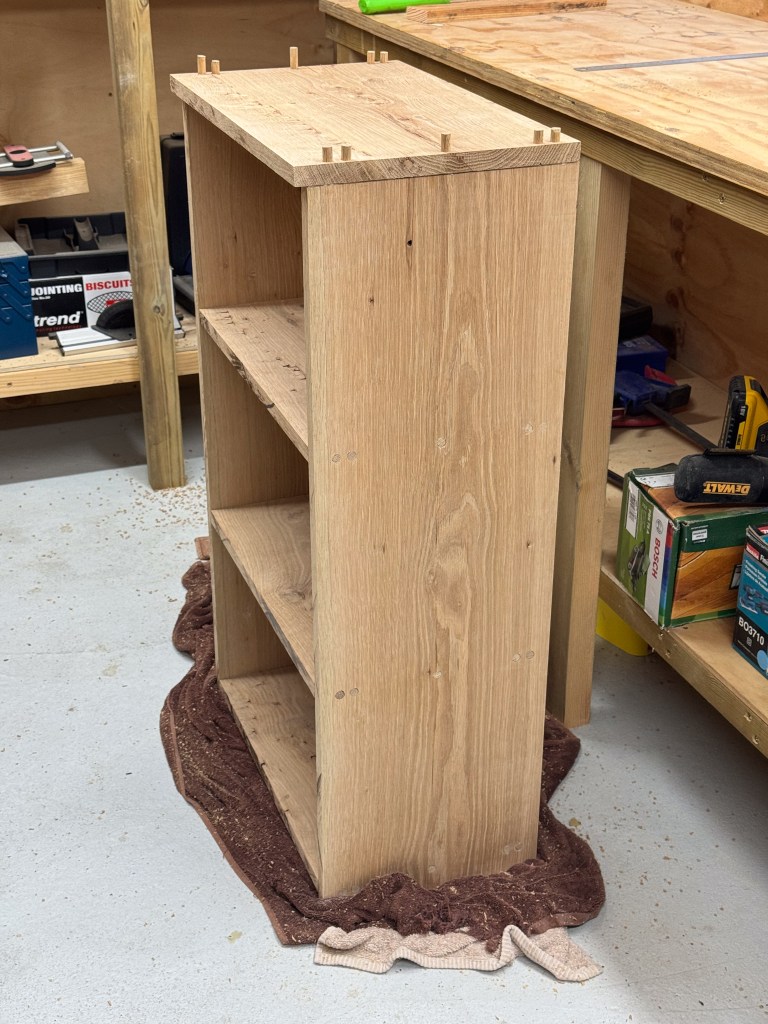
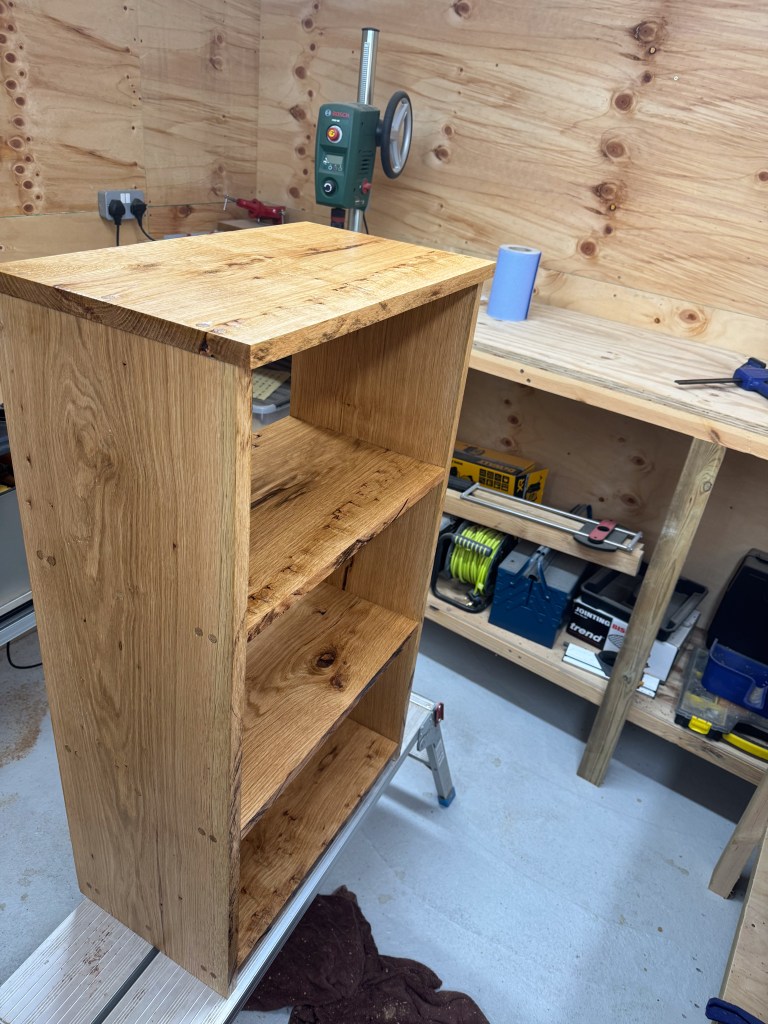
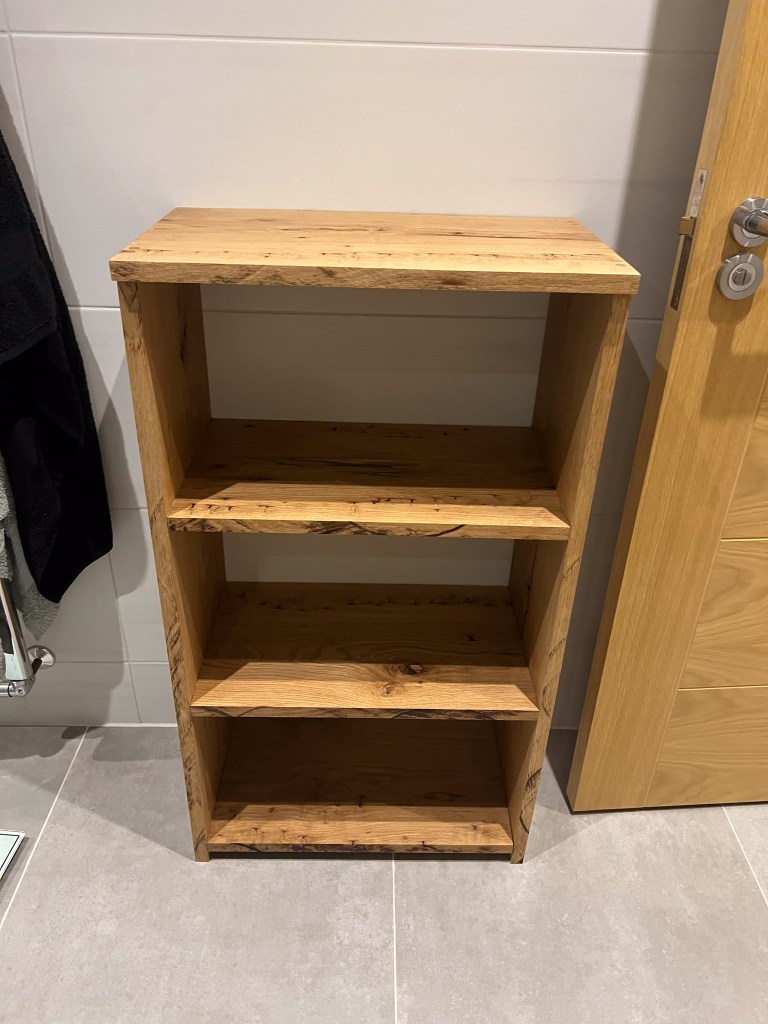
The result is that after a bit of pain, some literal, I’d got the unit together and if I may say so myself, it looks gorgeous. Yes there are a few dowels that have the odd gap around them but overall, it’s a very solid and quality piece. My last tool purchase for this job was a small Japanese saw. I’m not sure what they’re called but they’re very thin and very flexible. I used this to cut the dowels flush to the surface, a brilliant and very satisfying tool.
Once made up I handed my masterpiece over to my daughter who wanted it too soon, so I left the job of coating danish oil on the piece a few times to her. Importantly, she now loves it and it serves the job she intended it for perfectly.
Cost:- Oak Boards £84, Dowels £12, Danish Oil £1 – Total = £97

Leave a comment