As part of our garden build we had installed a new 5 x 3 m workshop for me to work in and act as a store and DIY/woodwork shed. The time had come to fit it out so it could work as intended.
After some extensive online research into these things and chatting to people who knew better than I did, I decided on a layout for my new shop. All I needed to do now was draw it up, measure it out and make up the benches. As usual, I adapted plans I’d found online and measured them up to fit. While doing the research I discovered there’s no ‘right’ design for a workshop layout. Every user has slightly different needs, power tools and requirements. Being new to this, I had to make a few guesses about future needs but I decided to plan for what I have now and what I’ve needed so far.
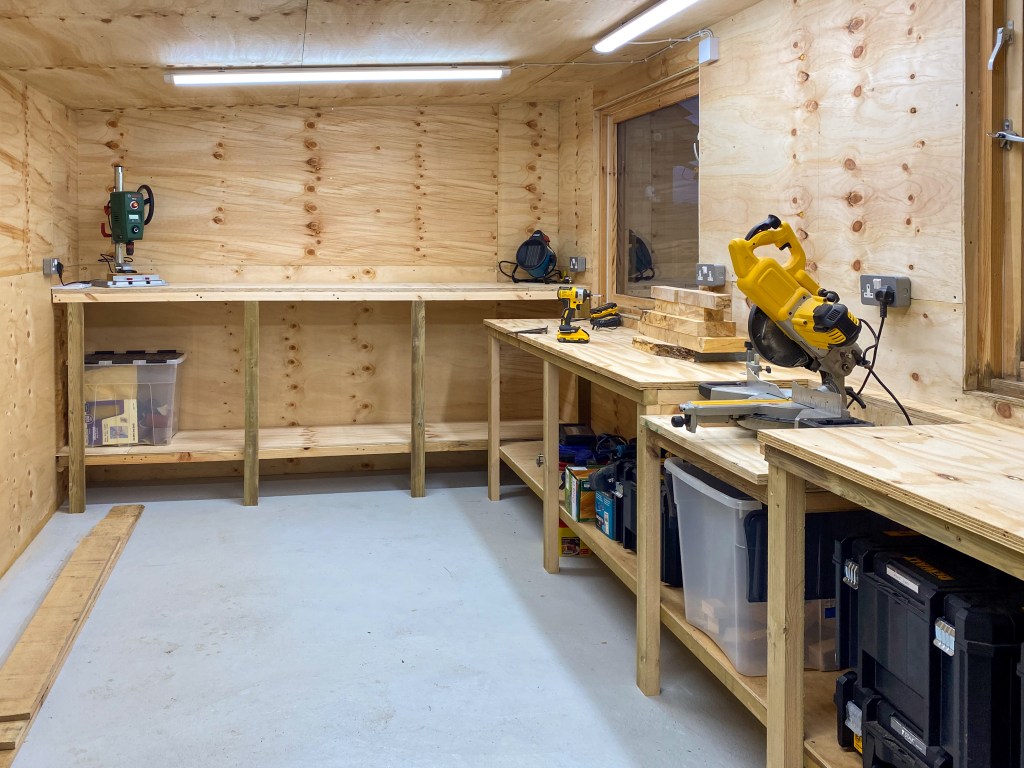
I only really made two big decisions about the two benches I was going to put in. The first was to incorporate the chop/mitre saw on the long side and the second was to make the shorter bench a bit higher than normal to work on. I’d already incorporated a lower shelf under both benches for much needed storage.
With plans drawn up, I purchased the necessary timber to make up the frames and legs. I already had a sheet of thin 9 mm ply but bought thick 25 mm sheets for the bench top. I wanted the extra thickness to make it more hard wearing and solid to clamp onto etc. I was excited to get these built as I was already pretty sick of having to set up the saw and having no space to complete even simple jobs. The amount of time wasted walking back and forth grabbing a tool or box of screws or whatever from the garage/house/car was annoying.
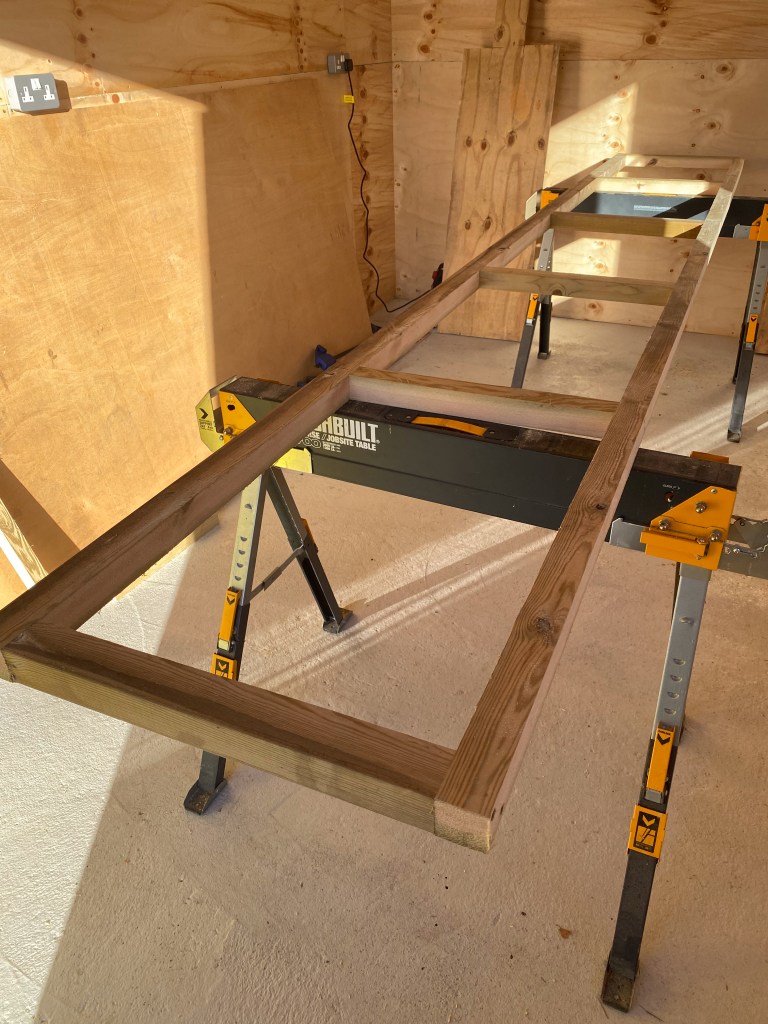

Again, reminding myself of my mantra (if you mess up, it’s only the cost of a few bits of lumber), I set about chopping up the posts and supports for the frame. I was delighted when I realised I’d made the frames in next to no time and they were all pretty much square!
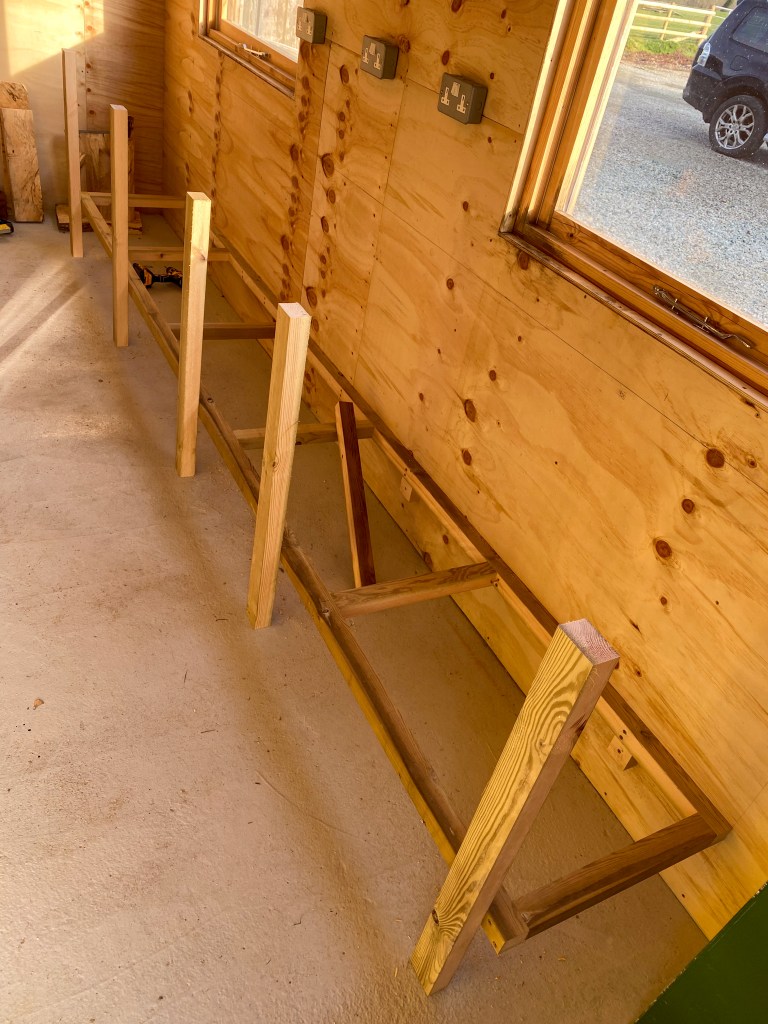
Fitting the legs was perhaps the more difficult part but only because I obviously wanted them to be flat and therefore mean the top had no slope or inconsistencies on it. To do this I used a laser level projecting onto the wall the frame was going to be fixed to and attached the back of the frame first. Then, using a spirit level, I screwed the support legs to the front of the frame. This worked perfectly and I was very pleased with the set up.
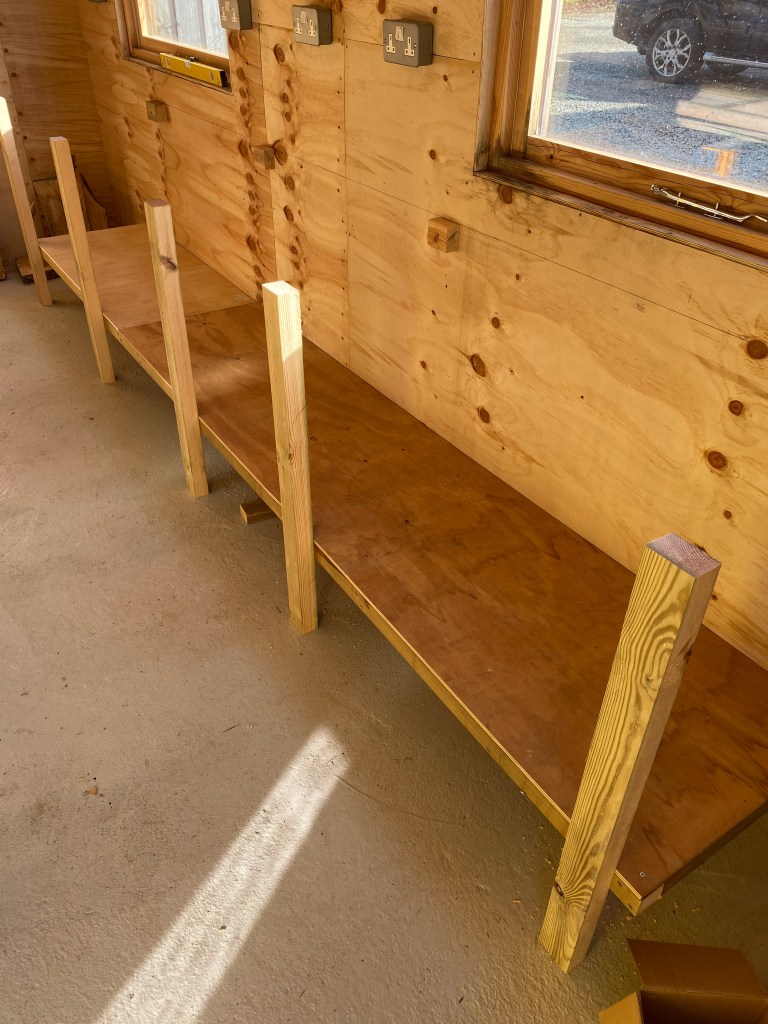
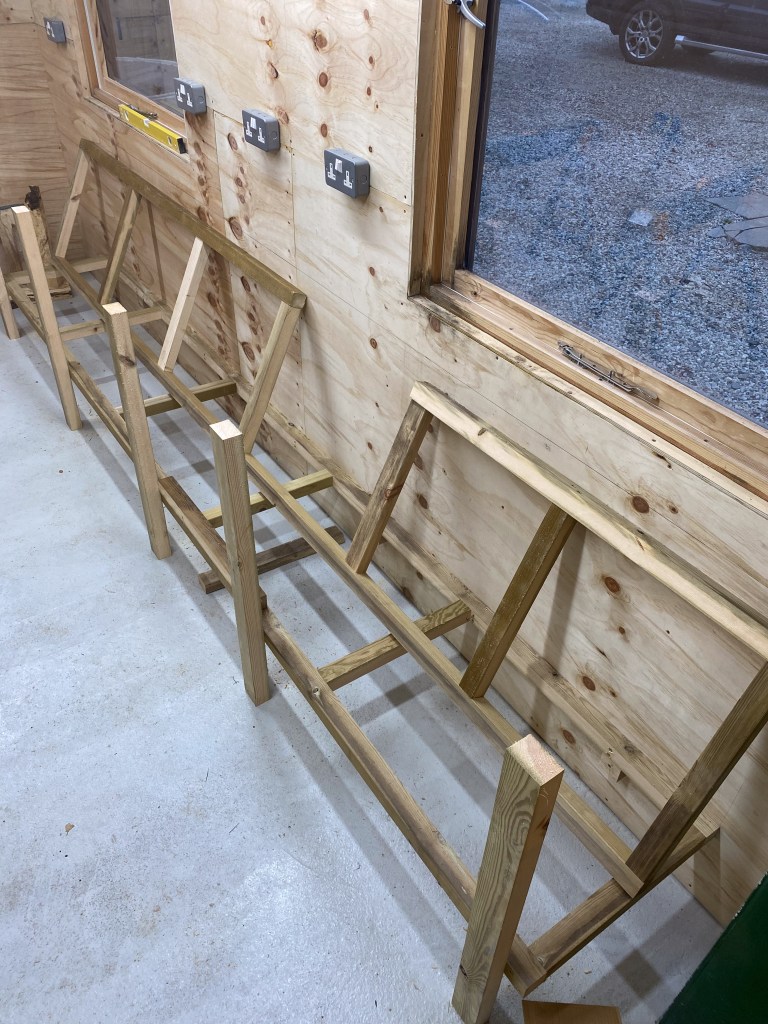
The next job was to board the lower frame to act as a shelf for storage. Once cut to size, this was quite an easy job. With that done, I then attached 4 blocks to the wall that the top frame could sit on. Again, these were levelled using a laser guide. I’d cut the leg supports to size meaning the top frame would sit on the legs. After fitting the frame, I was left with something resembling a workbench.
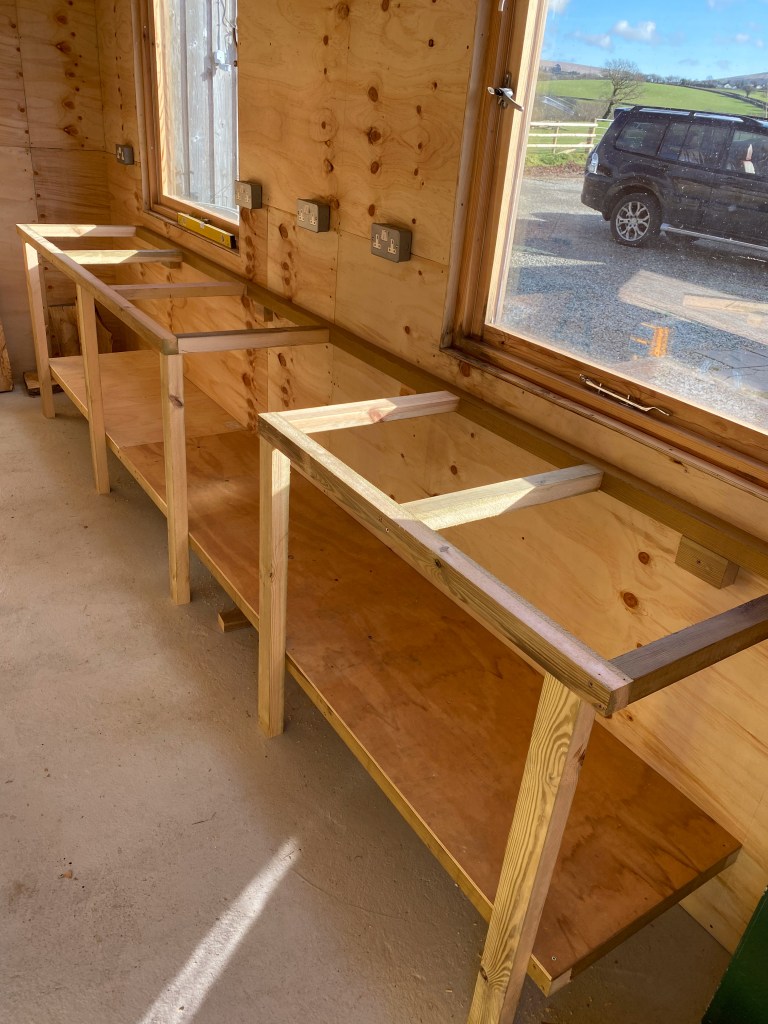
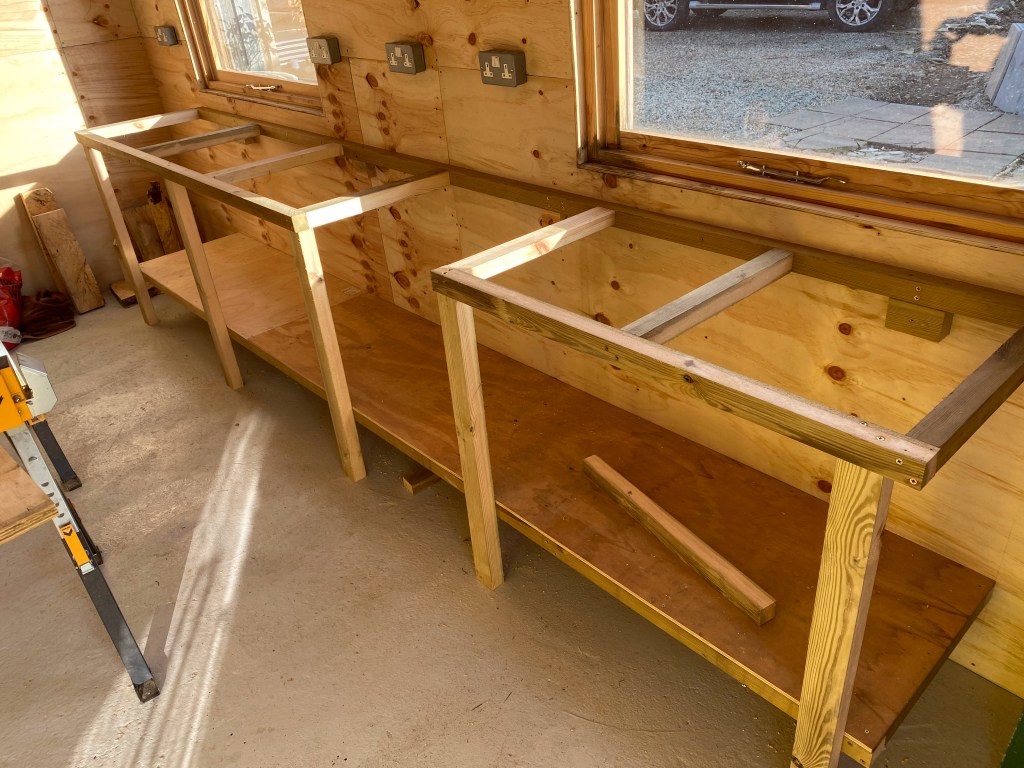
I attached the lower frame that would house the mitre saw and made sure to measure accurately it’s height. This ensures the rest of the bench supports any long boards when cutting.
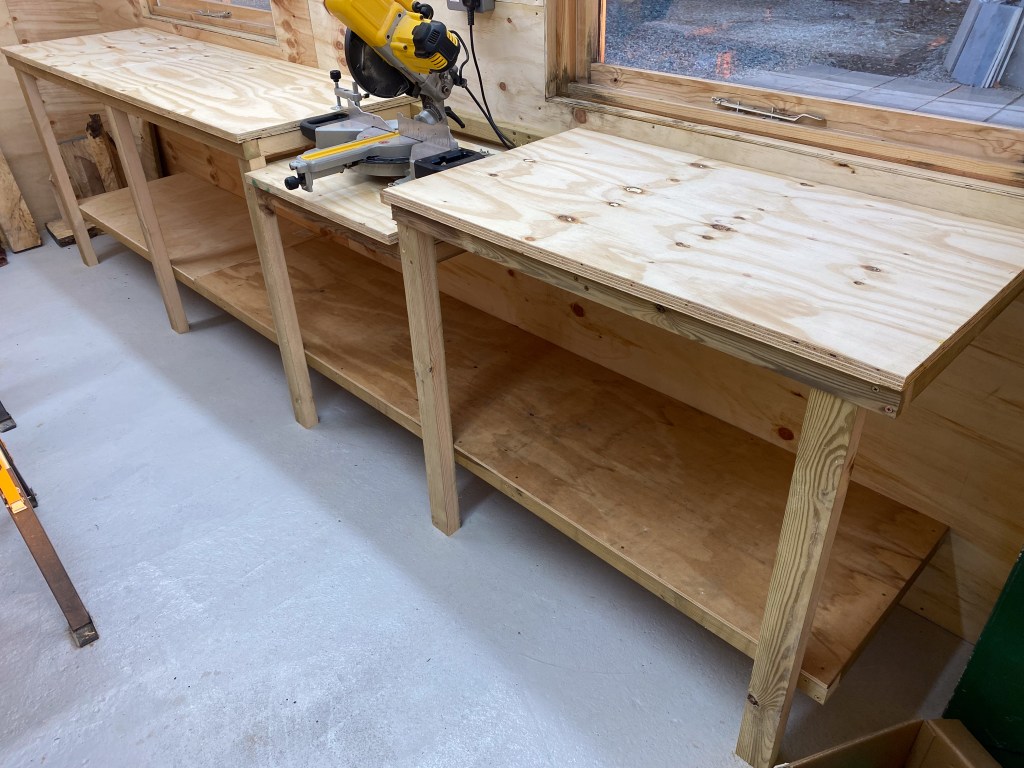
All that was left was to repeat the process for the end wall, minus the need for incorporating the saw. I was delighted, at long last I had a practical workshop! Everything was in one place, to hand and easily manageable. I’d made another practical thing that I’d use time and again that made everything so much simpler.
Cost:- Ply & frame £300

Leave a comment