
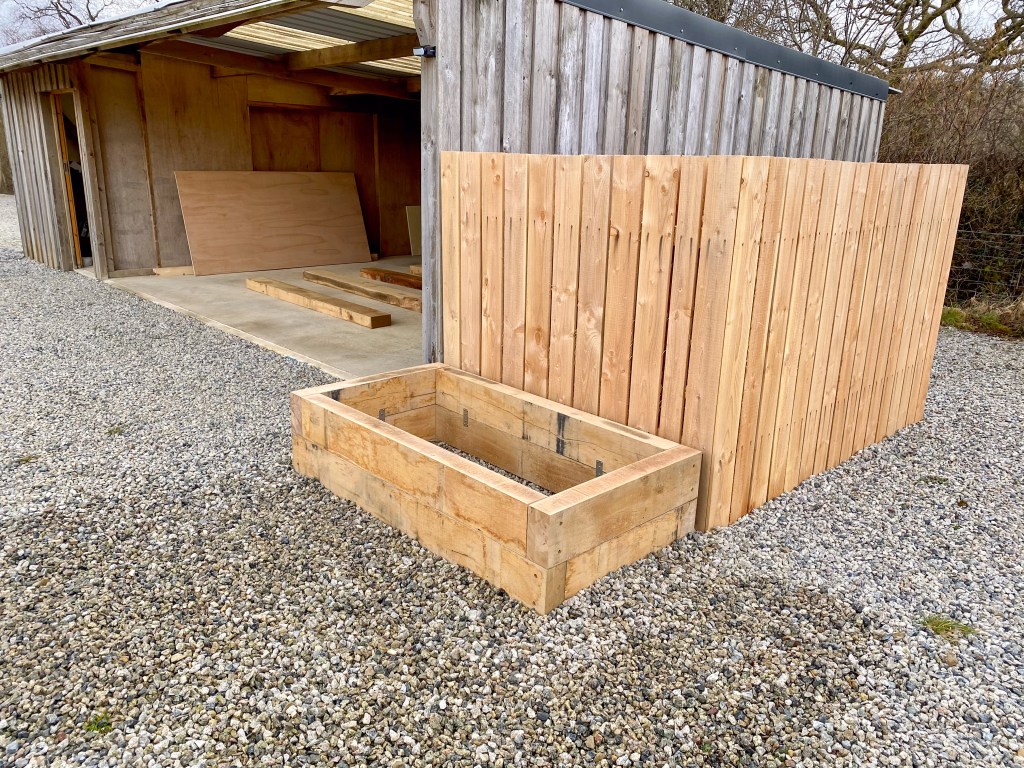
We wanted to alter our garage area outside and thought that maybe adding some plant life to our garden would be a good idea! The plan we devised was to build 2 large sleeper beds either side on the gravel. After research, the size we needed meant we couldn’t buy from a store so again, I thought why not try and make some?
My previous lack of confidence was now being replaced with a touch of over confidence. However, my mantra remains, “whats the worst that can happen.” In this case, I’d potentially waste the cost of an oak sleeper or two.
I had a blueprint for how to build a flower bed from elsewhere in the garden so thinking there’s no point in re-inventing the wheel, I chose that design. I planned out the measurements and ordered the required sleepers from my trusty and brilliant local lumber yard, Winkleigh Timber. Within a week, they were delivered. Man are they heavy! At 2.4m long x 250mm wide and 125mm thick I guess they would be but I hadn’t considered the difficulty in moving them about.
As has become usual with the few builds I’m not sure about, I dragged my feet and delayed starting for a few days. I was worried about chopping the sleepers as I didn’t have a saw that cut deep enough. My mitre saw wasn’t big enough and nor was my circular. I’d had a minor episode of kick-back with the circular which reminded me these tools are not to be messed with. The only way of cutting them to size was to use the circular to make a cut and then flip the sleeper to complete it.
With my heart in my mouth I made the first partial cut. I then, with difficulty, flipped the oak and completed the cut. It wasn’t too bad, the blade hadn’t lined up perfectly so there was a small ‘step’ in it. I’d have to do better on the other ones though as some of these cuts would be on show.
I carried on and got better but not perfect. My hands, fingers and wrists were not used to moving such weight and were starting to become weak so I made the wise choice of stopping for a rest. The plan was to build two layers and place them on top of one another. I’d bought a pack of large 200mm bolts to drive through and hold them securely together. This part was quite easy if not noisy and physically demanding. I pre-drilled holes and counter-sunk for the bolt heads.
The result was that angles were more or less at 90° and square. I repeated the process and had two extremely heavy rectangles ready to be placed in situ.
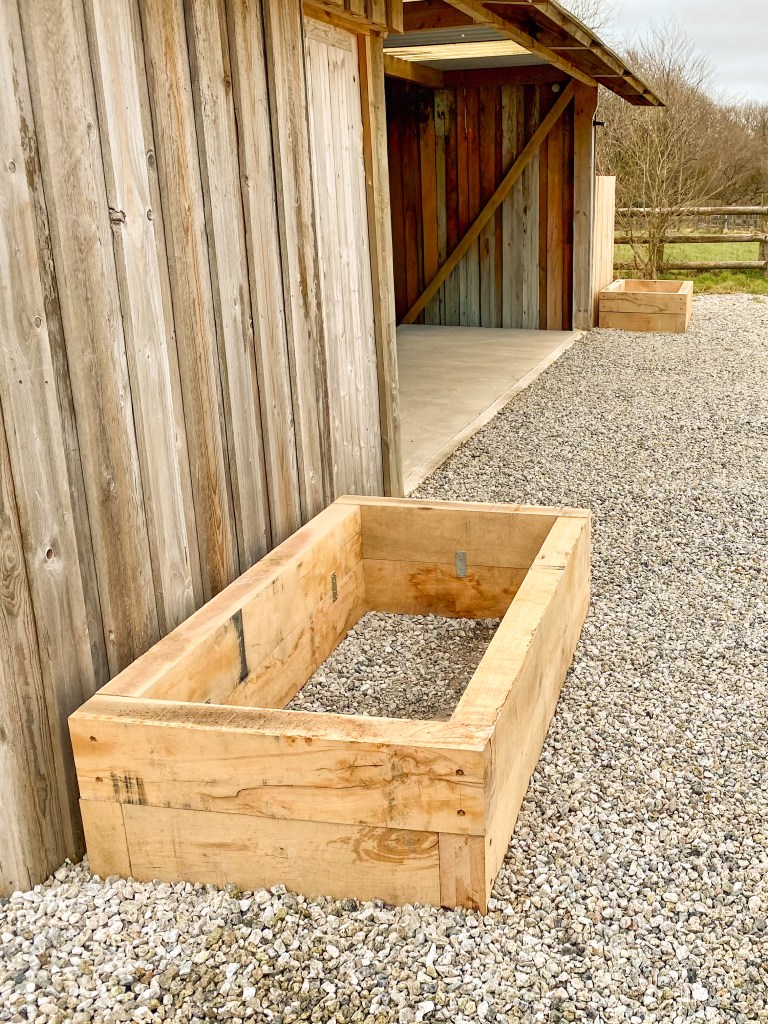
I took some time levelling off the gravel they were to sit on before we manhandled them into position. Once they were aligned I fixed the top to the bottom with eight metal flat plates. They weren’t going to be going anywhere now!
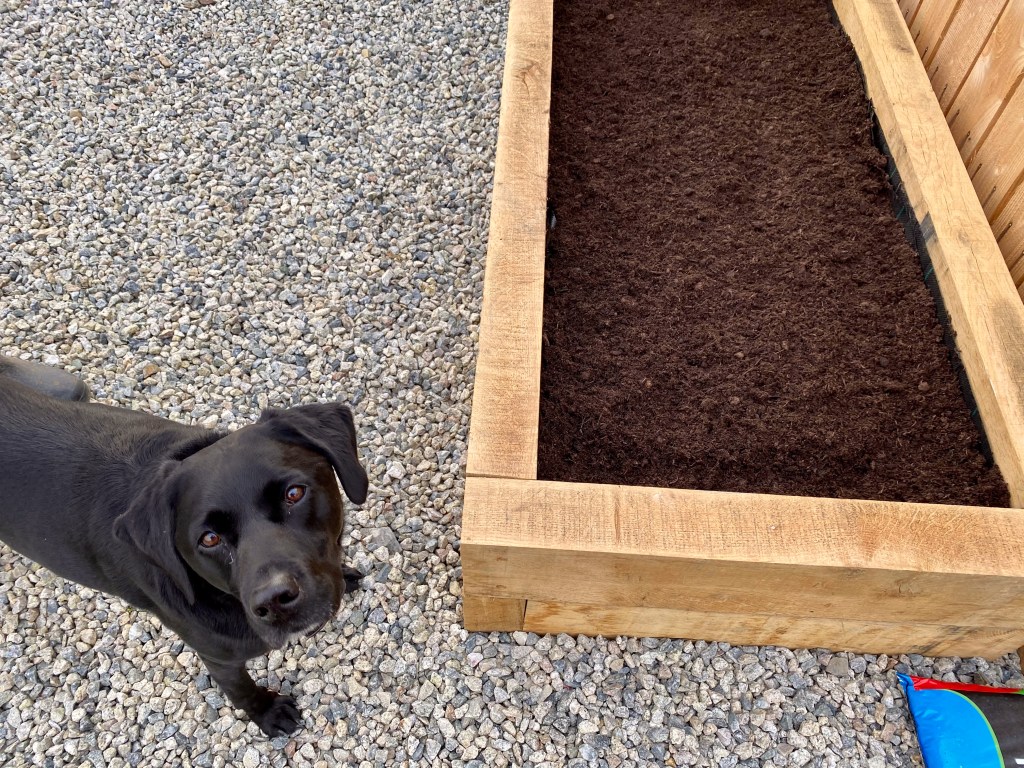
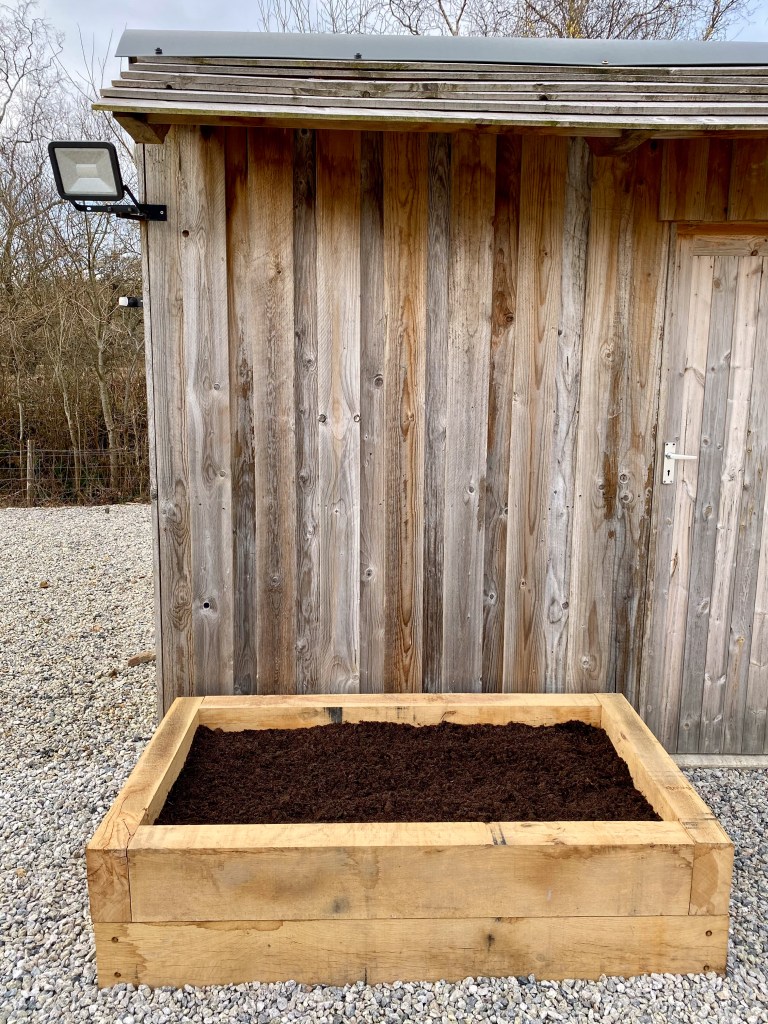
That was about all my weak hands could cope with for one day so I left the second one until the following day. During the second build my hands had become so weak I dropped a sleeper on my fingers reminding me that this pastime had many dangers. However, within a couple of hours, we had a second sleeper bed in place and ready to plant up. I stapled a membrane to the inside to stop the soil from leaking out underneath and to retain some moisture in the bed before filling them with compost and soil and planting up.
Another satisfying result and some tailor made, handsome looking additions to our outside space.
Cost:- Sleepers £290, Fittings £24, Total £314

Leave a comment