Encouraged by my recent exploits I decided to tackle the biggest project I’d undertaken so far.
When we moved in, we decided we needed to make a few improvements to our outside space and garden. The first job was to create a recycling area next to the garage to store the ugly bins and plastic recycling boxes our Council feels it important we need.
This proved to be easier said than done. Whilst I was gaining confidence in the DIY aspects of life, I’d never tackled anything like this and to say I was nervous to start, was an understatement. I promised my wife that if I made a pig’s ear of it, I’d get someone in to fix it. I drew up a plan including accurate (I hoped) measurements, I marked it out on the gravel and convinced myself it was the right thing to do. All that was left was order the materials. I’d worked out the ‘cut’ list of timber needed and size of frame required by doing some research online. I’d been advised the garage had been clad with Douglas Fir so I went for that for the cladding on the new area. I ordered the framing timber from RGB our local builders merchant and the cladding from the sawmill.
I researched how to concrete in the main support posts after digging the three holes required by using ‘postcrete’, a quick setting cement for anchoring big posts. What I didn’t know was how to get the posts square to the garage or to each other, or practically, how to ensure they were accurately upright to the ground. As usual, I didn’t have the tools for the job so I went to a tool shop and bought a hole digger tool and a big iron bar to create the holes needed. I measured and re-measured where I wanted the holes and ran out of excuses not to start the digging. I bashed away and sure enough, the tools made the job much easier than I’d anticipated given the very stony ground I was building on. As I smashed away on the second hole, buoyed by my confidence of the first one, my wife came dashing out to say we’d just suffered a total power cut across the house and she couldn’t work. My shoulders slumped as I knew I’d done something awful. My second hole was now full of muddy water and I was reluctant to shove my hand in it to check if there was an exposed mains power cable there. My logical brain said I couldn’t have damaged anything as I’d have surely known about it. Knowing absolutely zero about electricity however, I’m also not a fan of coincidences. We’d had no power outages previously. We called our neighbours and yes, they were out too. I just assumed I’d knocked out their power as well. I phoned the power company switchboard to report a fault and they, to my absolute delight, confirmed that yes, they had a problem at a mains transformer in the area and it would be fixed in the next couple of hours. It wasn’t me and it was a coincidence!
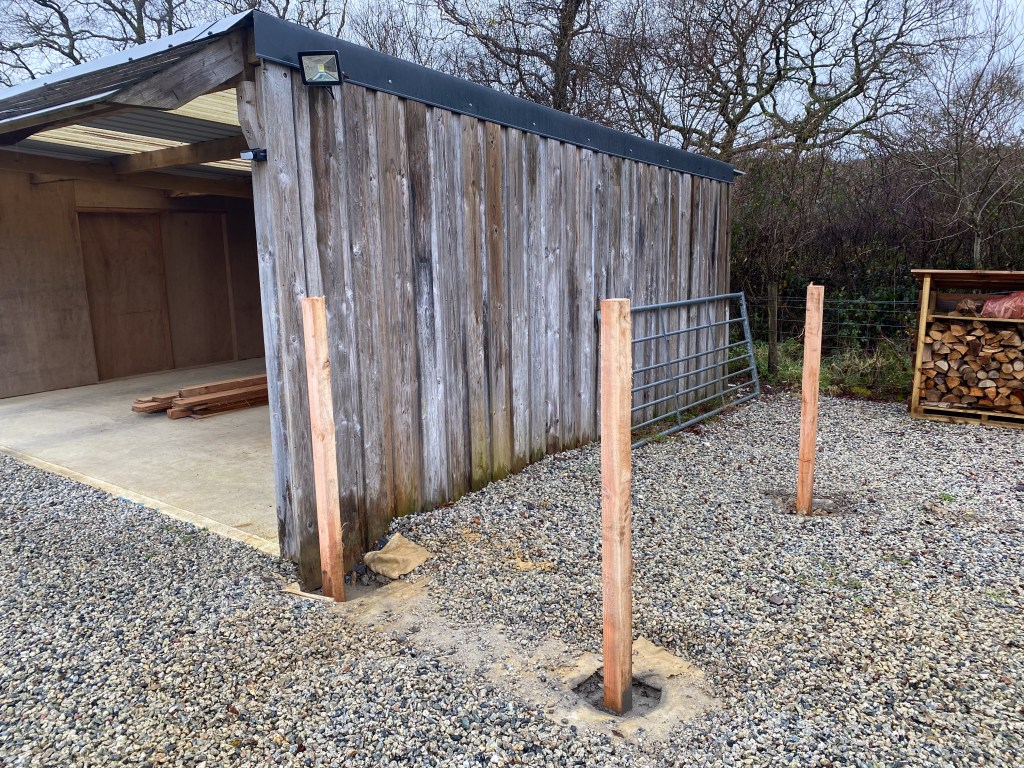
Re-invigorated, I set about finishing the holes and before long, I had the three I needed, all (roughly) in line with each other and square to the garage. Now for the tricky part, the post setting. I made my wife help me, both for practical assistance and so that we could blame each other when they weren’t square. We carefully set each post in turn, using a spirit level on them until they set hard enough to let go! The Postcrete worked wonders and I was pleased to have paid the extra amount for Blue Circle which online had said was the best and set quickest. Miraculously and I’m sure, more by luck than judgement, they weren’t too bad at all and most importantly, weren’t visibly wonky!

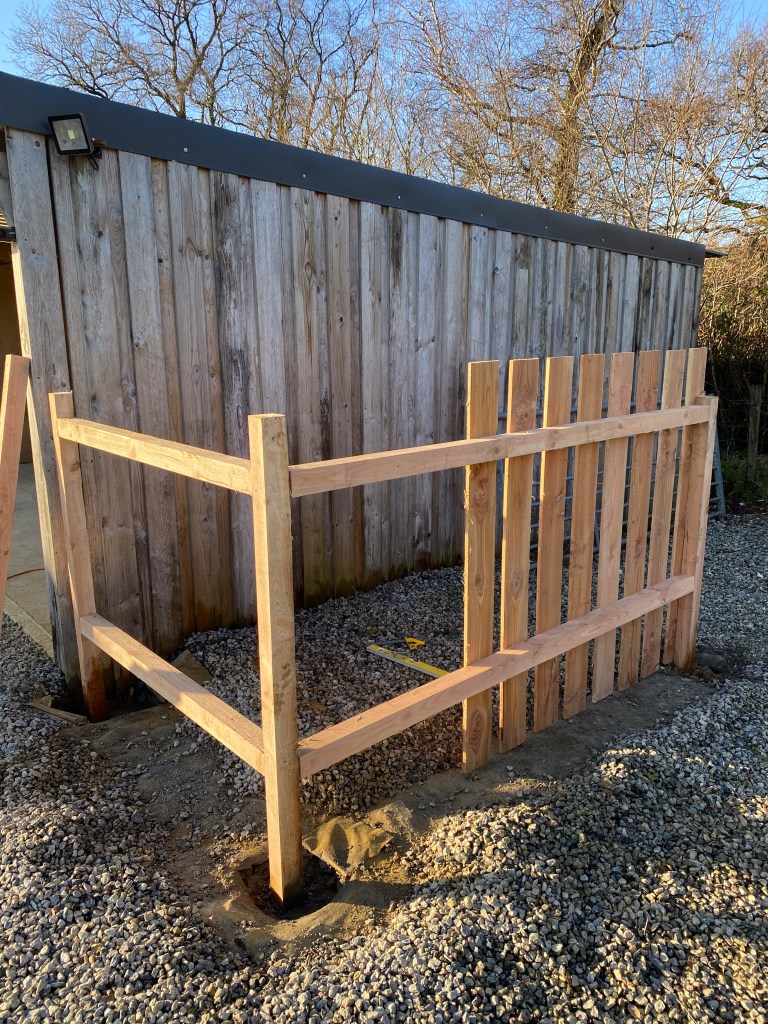

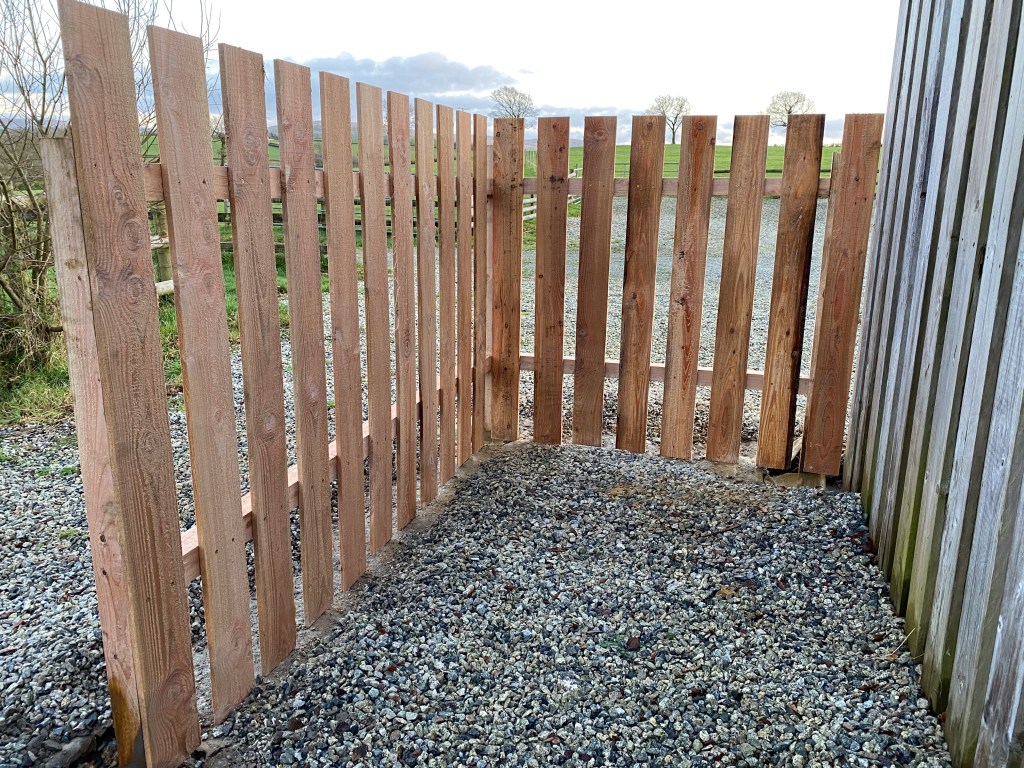
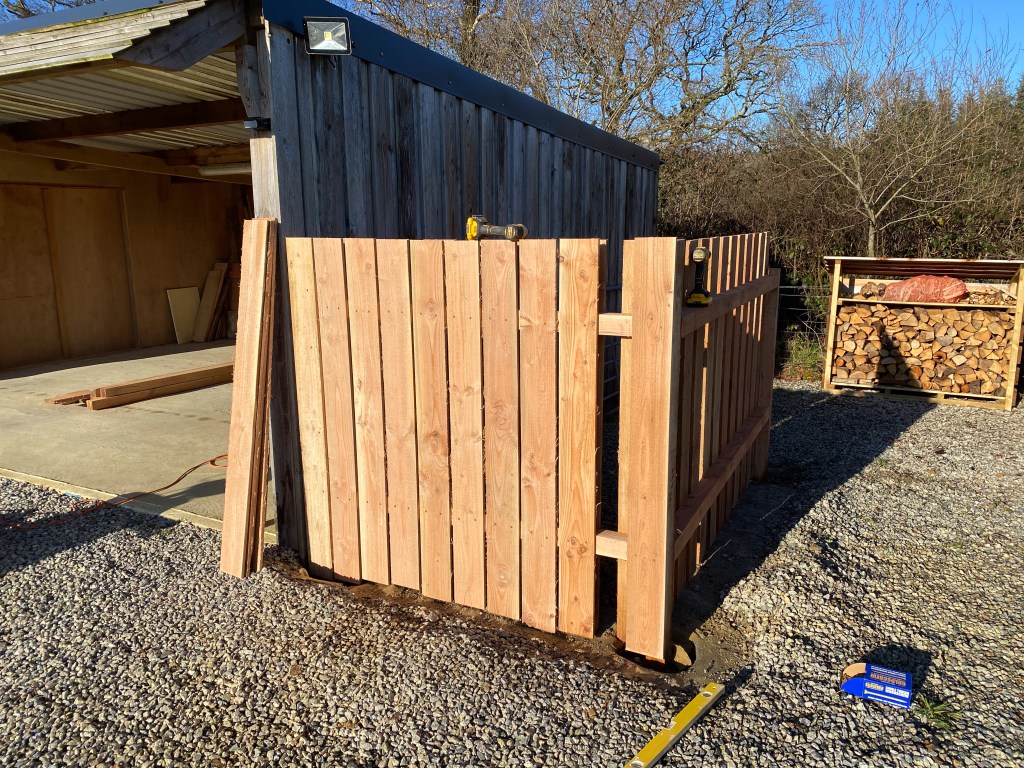
I was excited and the following day, started to cut the cladding boards to size and fix them to my newly made frame, vertically, in keeping with the garage’s cladding. I used a guide to maintain the gap between each one and mirrored the staggering the garage had on each side of the frame.
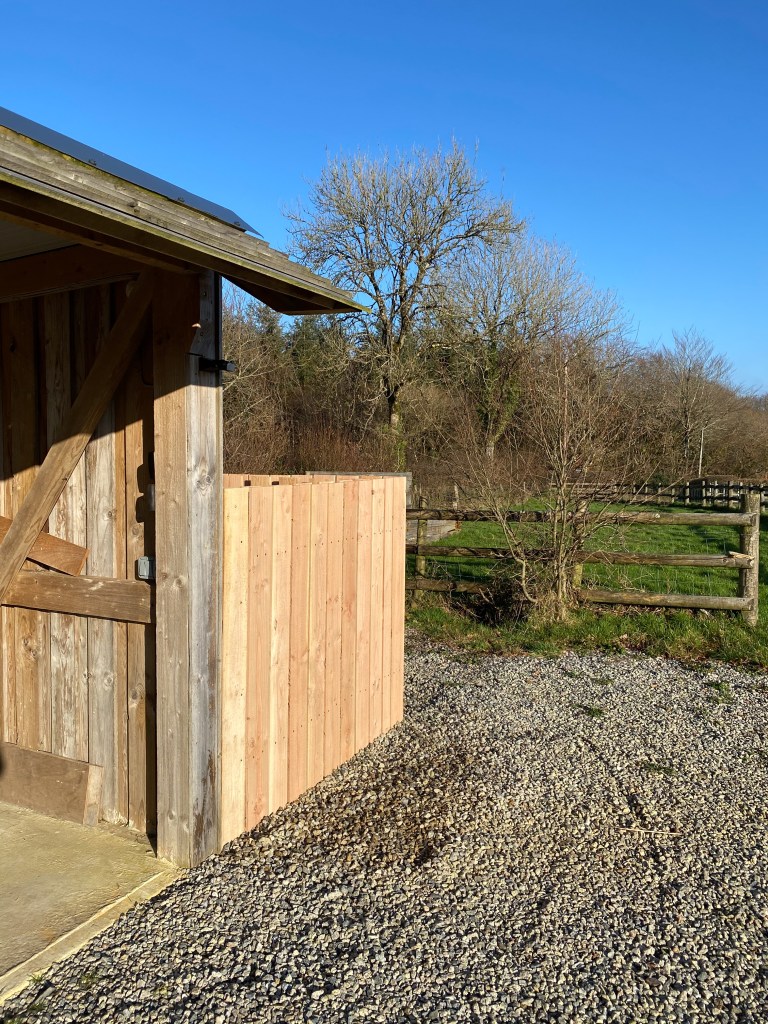
The end quickly came and the result was pretty much as envisaged. It’s not the most gorgeous and it isn’t the best mini extension to a wooden structure you’ll ever see but it’s good enough not to draw attention to itself and it serves its purpose perfectly. The one error I made in the whole thing was not to use stainless steel screws for the cladding. During the very damp winter conditions, a few have rusted to the extent the heads have popped off, annoying but not the end of the world. The boards have now weathered to the same silvery tone of the garage itself so it looks like the two were built together. The total cost ended up at £350 which I felt was reasonable for its size and purpose.